
Last updated November 2, 2026
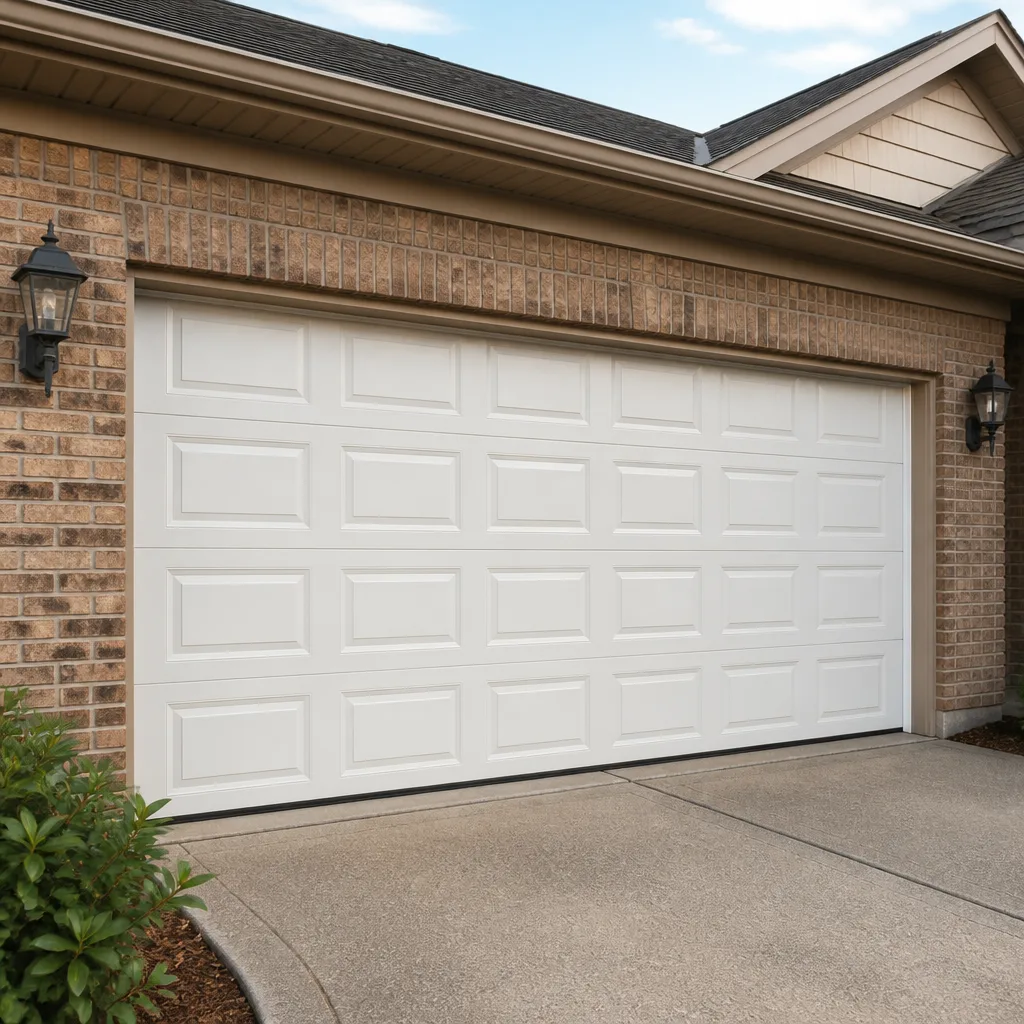 Raised-panel steel
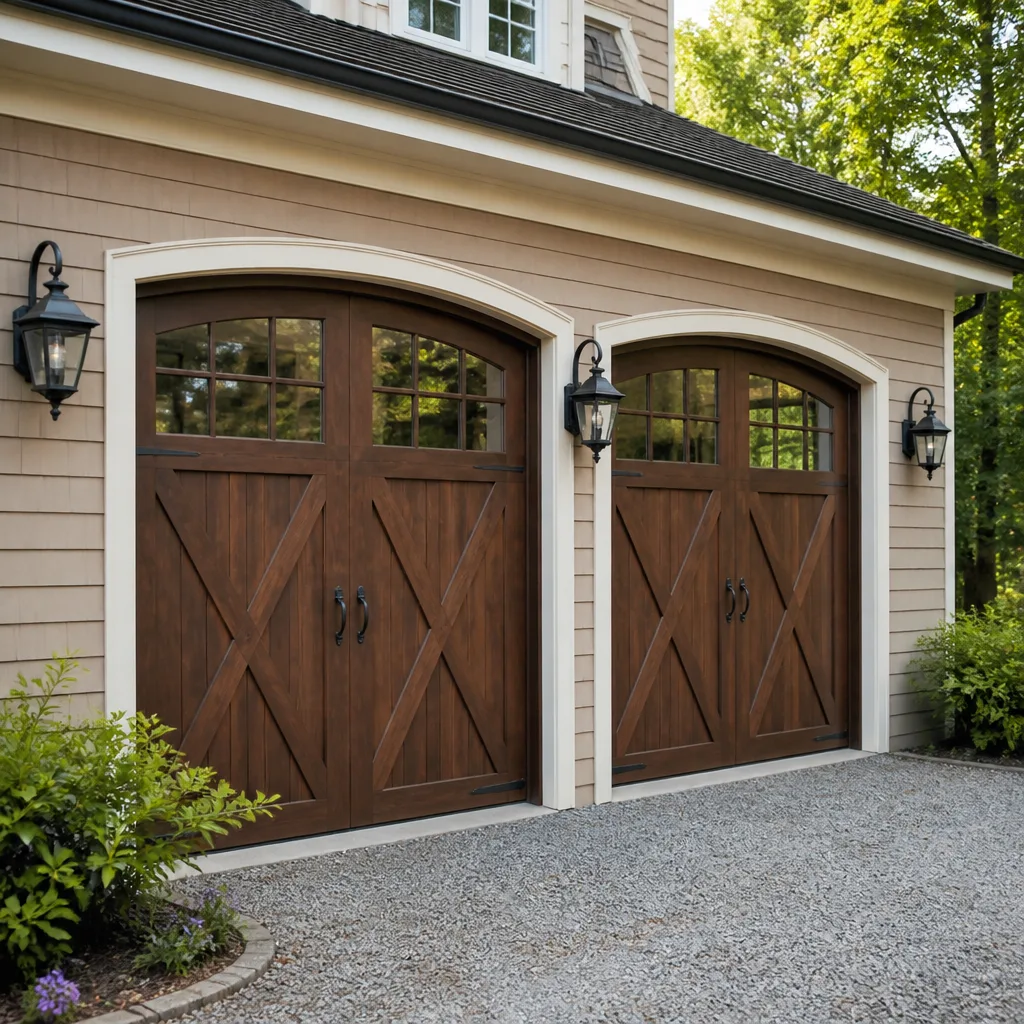 Carriage house
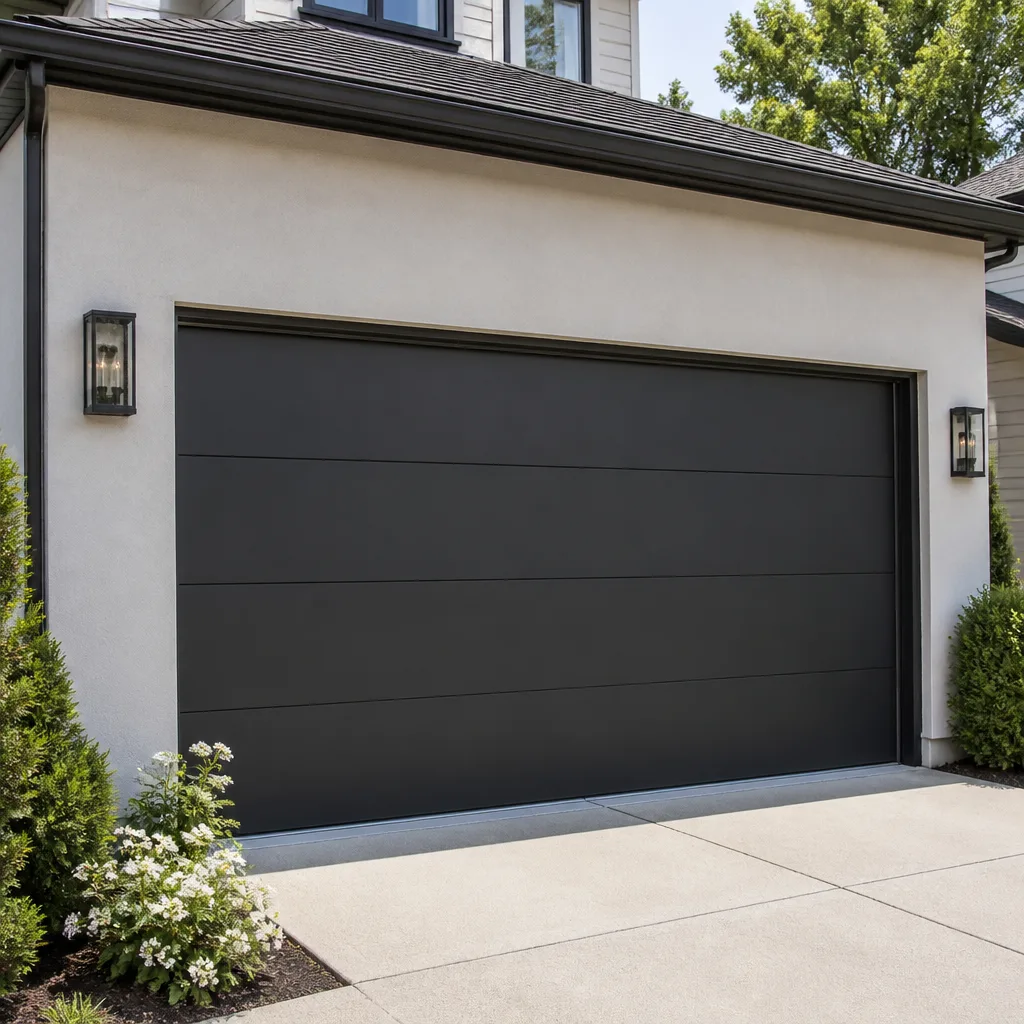 Modern flush
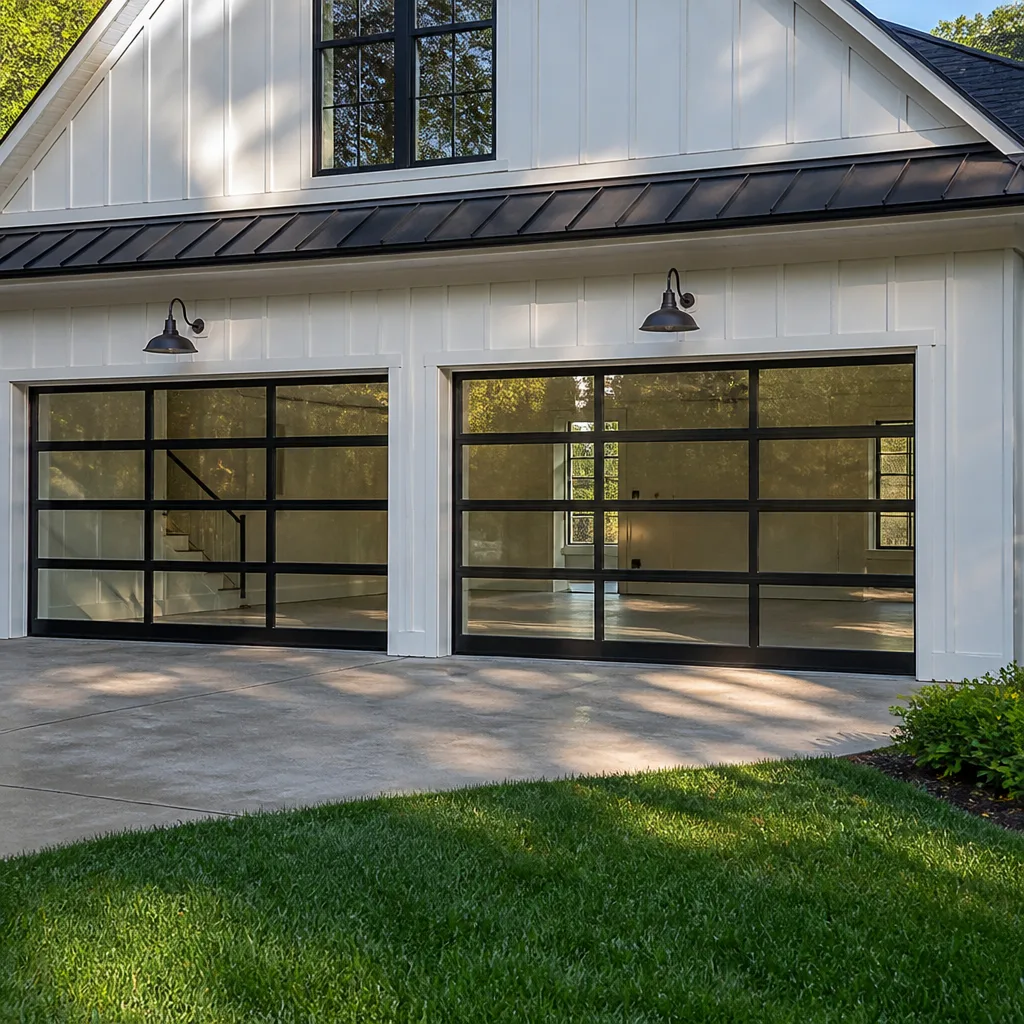 Full-view glass
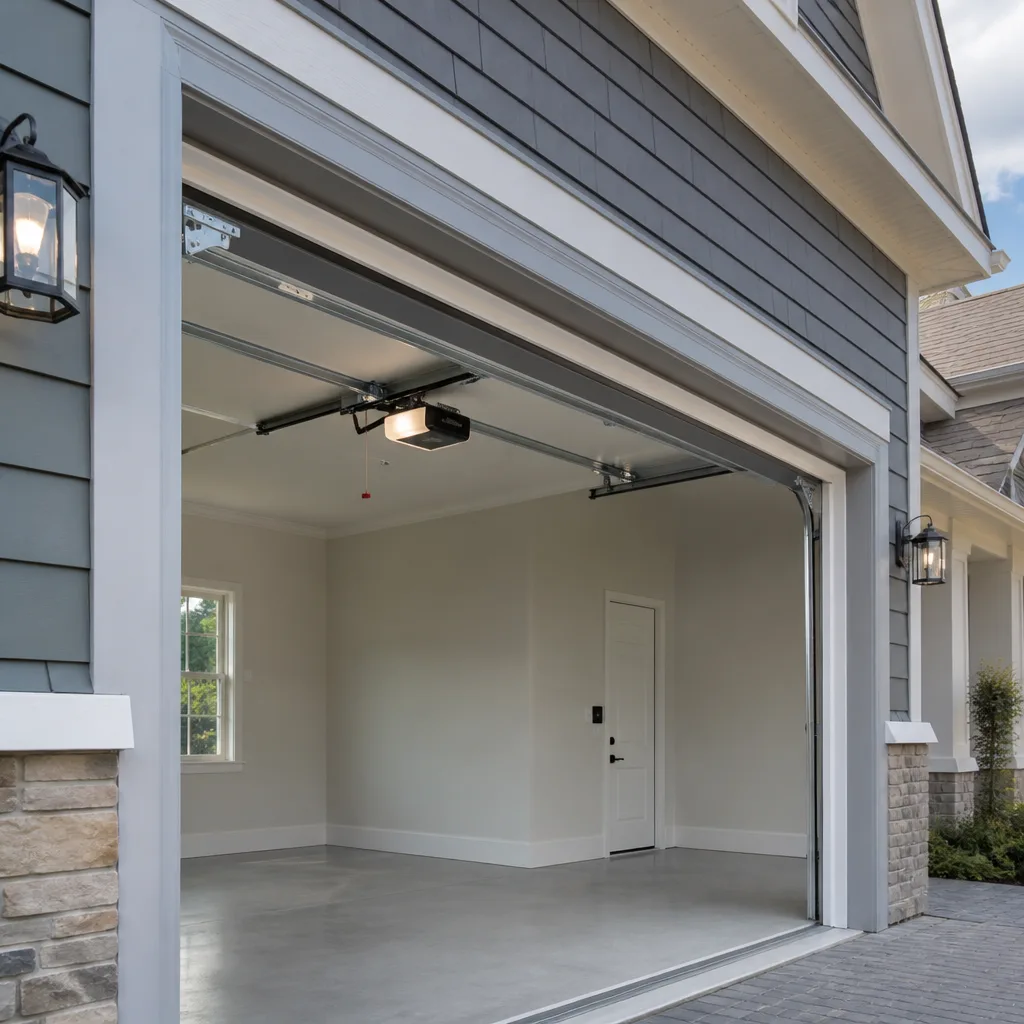 LiftMaster openers
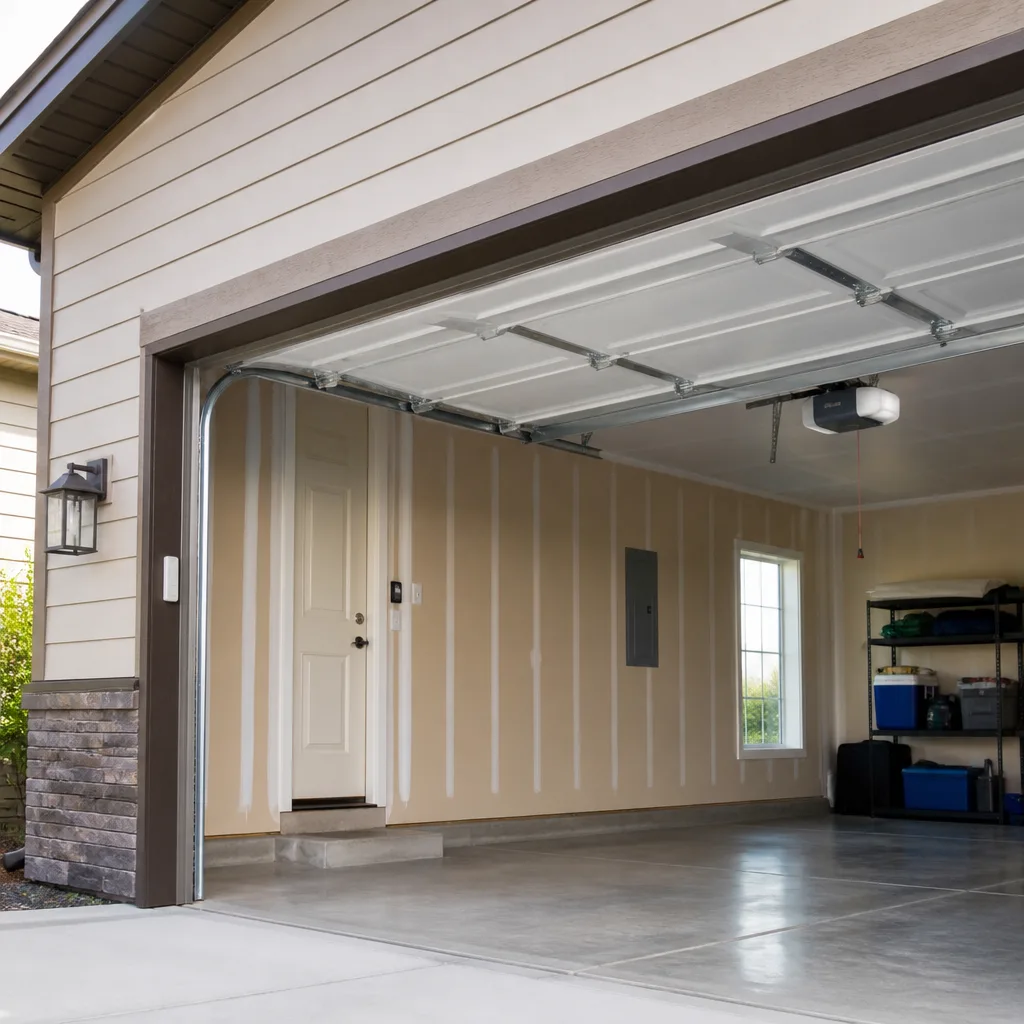 Chamberlain openers
Full 25-point door and opener safety check with every visit - springs, cables, rollers, tracks, and your LiftMaster or Chamberlain opener included
You get a price before we start. It does not change when the truck arrives.
Get your free estimateGarage Door Emergency Preparedness Guide for Burbank Homes
Here’s something most Burbank homeowners don’t realize until it’s too late: your garage door is the largest moving object in your home, and during an emergency it becomes either your fastest exit or your biggest obstacle. The 2019 Saddleridge Fire sent thousands of Burbank and San Fernando Valley residents scrambling to evacuate, and more than a few discovered their electric openers were dead from power shutoffs, leaving them staring at a door they didn’t know how to open manually. This guide covers everything you need to know before the next earthquake, wildfire, or rolling blackout hits Burbank: manual release operation for every major brand, battery backup options, seismic brackets, and how to build a garage emergency card your whole household can use in under ten seconds. For Garage Door Repair Troubleshooting: Common Problems and How to Fix Them, see our dedicated troubleshooting guide.
Quick Answer
Every Burbank home with an automatic garage door needs three things ready before an emergency: a working manual release cord that someone in the household has actually pulled, a backup plan for power outages that doesn’t rely on remembering an app password, and a laminated instruction card mounted near the interior door with brand-specific release instructions. The manual release on every major opener brand, from LiftMaster to Genie, works on the same principle but the handle color, position, and re-engagement method all differ, which is why we recommend practicing once a year and labeling your specific setup. Our Garage Door Repair Maintenance Checklist for Burbank Homeowners includes a full annual inspection routine.
Styles & brands we work with
- Raised-panel steel
- Carriage house
- Modern flush
- Full-view glass
- LiftMaster openers
- Chamberlain openers
Table of Contents
- How to Operate the Manual Release on Your Garage Door Opener
- Manual Release Differences Across the Five Most Common Opener Brands
- Restoring Your Opener After a Power Outage Without Losing Programming
- Earthquake Disconnect: Seismic Brackets for Burbank Homes
- Battery Backup Opener Systems: What Actually Works in an Outage
- Building a Laminated Garage Emergency Card
- Common Mistakes to Avoid
- When to Call a Professional
- Frequently Asked Questions
How to Operate the Manual Release on Your Garage Door Opener
The manual release is a red, orange, or yellow cord hanging from the opener rail, usually about six feet off the ground near the motor. Pulling it disconnects the door from the motorized trolley so you can lift the door by hand. In a power outage this is the only way to get your car out of the garage, and in an earthquake it’s what lets you open the door even if the opener is damaged. The process takes about ten seconds once you know where to look.
- Confirm the door is fully closed. Releasing the mechanism while the door is open can cause it to slam shut, which can break a panel or worse, cause a serious injury. If the door is open when the power goes out, have someone support the bottom edge while another person pulls the release.
- Locate the release cord. It hangs down from the rail attached to the ceiling, roughly between the door and the motor unit. On LiftMaster, Chamberlain, and Craftsman openers it’s usually red. On Genie models it’s often red with a small T-shaped or diamond-shaped handle. On some newer units it may be yellow or orange.
- Pull the cord straight down and toward the garage door. You’ll hear a click or feel a solid release as the trolley disengages from the rail. The door is now in manual mode.
- Lift the door by its handle or bottom edge. A balanced door should feel heavy but manageable, around eight to fifteen pounds of lifting force. If it will not lift or feels like it weighs a hundred pounds, stop: the tension springs have likely failed, and you should call a professional rather than force it.
- Open the door completely and secure it. If you’re evacuating, hold the door open long enough to move vehicles out, then close it manually. A garage door left open during a wildfire evacuation invites embers into the home.
One thing that surprises people: the release cord is not a pull chain for opening the door. It only disconnects the opener. You still have to lift the door yourself. And re-engaging after the emergency ends is a separate step, which we cover in the power outage section below. If you’re not sure whether your Burbank home’s opener is working correctly, Garage Door Opener Repair in Burbank covers testing, adjustment, and full service on every major brand.
Safety Note
Garage door springs, especially torsion springs mounted above the door, are under extreme tension. Never attempt to adjust, remove, or repair springs or cables yourself. The manual release operation described here is safe when performed correctly, but any work on the door’s lifting mechanism should be left to a trained professional.
Manual Release Differences Across the Five Most Common Opener Brands
We’ve worked on thousands of openers across Burbank, from the Verdugo foothills to Magnolia Park, and the most common call we get after a power outage goes something like this: “I pulled the red cord and now the door won’t go back to normal.” The reason is that each brand engineers its release and re-engagement mechanism differently. Knowing your brand and model saves you from a stuck door at the worst possible moment. Here’s what you need to know for the five brands we see most often installed in Burbank homes.
LiftMaster and Chamberlain
These two brands share the same parent company and nearly identical mechanics. The release cord is red with a T-shaped handle. On most models from the last fifteen years, re-engagement happens automatically: with the door in manual mode, simply press the wall button or a remote button once. The trolley will travel along the rail until it reaches the release position, then click back into place. This is the easiest re-engagement process of any brand. Some older belt-drive units may need you to pull the cord a second time and manually slide the trolley until it latches.
Genie
Genie openers typically use a red cord with a diamond-shaped or round handle. The release mechanism disengages a small lever on the carriage rather than the trolley itself. Re-engaging requires pressing and releasing the remote button once, waiting for the carriage to travel to the release lever, then pulling the cord again to snap the lever closed. It’s a two-step process that catches many homeowners off guard, especially in the dark during an outage. If you own a Genie in Burbank, practice this once before you need it.
Craftsman
Most Craftsman openers made before 2018 use the same red-cord release as LiftMaster, since they were manufactured by the same parent company under license. Re-engagement works the same way: press the remote and the trolley reconnects automatically. Newer Craftsman models built after the brand changed ownership may use a slightly different carriage design, but the release cord and pull direction remain the same.
Wayne Dalton
Wayne Dalton openers, especially the iDrive series that mounts on the wall rather than the ceiling, use a different release entirely. Instead of a pull cord hanging from a rail, there’s a release handle on the motor unit itself, often marked with a red tab. You rotate or pull the tab to disengage the motor from the door shaft. Re-engagement is manual: you rotate the tab back while the door is in the closed position. These units are less common in Burbank now, but we still encounter them regularly in older homes in the hills.
Raynor
Raynor openers are less common but do show up in Burbank, particularly in homes built in the 1990s and early 2000s. They generally follow the same pull-cord design as Chamberlain units, with a red cord and automatic re-engagement via the remote button. The key difference is that some Raynor models position the release cord further back toward the motor, which can make it harder to find if the unit is mounted in a tall or cluttered garage.
The takeaway: if you don’t know your opener brand, go into your garage now and read the label on the motor housing. Then write it down on the emergency card described later in this guide. If the label is faded or missing, Anchor Garage Door Repair home offers identification and full-service support for any opener, regardless of brand.
Restoring Your Opener After a Power Outage Without Losing Programming
Power comes back on, you press the remote, and nothing happens. Or worse, the motor runs but the door stays closed. This is the most common post-outage frustration in Burbank, especially during Santa Ana wind events when SCE shutoffs can last anywhere from a few hours to several days. The good news: in most cases your remotes are still programmed, and the fix takes under two minutes. The bad news: if you skip the correct sequence, you can accidentally wipe out all your remote codes and keypad entries, turning a minor inconvenience into a reprogramming session.
- Wait for full power restoration. If you’re on a backup generator or the power is flickering, wait until the supply is stable before reconnecting the opener. Low or inconsistent voltage can damage the logic board.
- Confirm the door is in manual mode. If you pulled the red release cord during the outage, the opener will not work until it’s re-engaged. Look at the ceiling: the trolley should be disconnected from the rail. If it is, proceed to step 3. If it’s still connected and the remote doesn’t work, check your breaker box first; a tripped garage circuit is common after a large outage.
- Press the wall button once. On LiftMaster, Chamberlain, and most Craftsman units, a single press sends the trolley toward the door. When it reaches the release mechanism, it clicks and locks automatically. Press the button a second time to cycle the door fully open and closed, verifying the engagement held.
- On Genie and Wayne Dalton units, pull the release cord (or rotate the release tab) a second time after the carriage stops. This locks the carriage lever back into place. If you skip this step, the opener will make a grinding noise but won’t move the door, and repeated attempts can wear out the gear.
- Test the remotes and keypad. If the wall button works but the remotes don’t, the opener’s receiver may have reset. On most units, press and hold the “Learn” button on the back of the motor housing until you hear a beep, then press the remote button within 30 seconds. You should hear a second beep confirming the code was stored. Repeat for each remote.
- If the door moves erratically or reverses partway, reset the travel limits. Programs are retained through power loss on most openers made after 2005, but occasional voltage spikes can corrupt the limit settings. The procedure varies by brand: LiftMaster uses an on-board menu, Genie uses a two-button process, and older Wayne Dalton units require a small flathead screwdriver to adjust the limit screws. When in doubt, call a professional rather than guessing.
One Burbank-specific factor: our hillside neighborhoods, especially areas off Country Club Drive and up in Burbank Hills, experience more wind-related outages than the flats. If you live up there and your opener regularly loses programming after shutoffs, it’s worth having a surge protector installed on the unit or upgrading to a model with a built-in battery backup. We cover battery backup options in detail in the section below. For opener diagnostics and repair, Garage Door Opener Repair in Burbank is the dedicated service for every brand we’ve discussed.
Earthquake Disconnect: Seismic Brackets for Burbank Homes
Burbank sits in a seismically active zone, with the Verdugo Fault running through the western edge of the city and multiple mapped active faults within a ten-mile radius. Before installing any reinforcement, check our guide to Garage Door Permits, Codes & Inspections in CA: What You Need to Know to ensure compliance. The last significant local event on the Verdugo Fault was the 1994 Northridge earthquake, which produced enough shaking to rack garage door openings across the San Fernando Valley, including in Burbank. When a garage door opening shifts during an earthquake, the door itself can bind in its tracks, making it impossible to open manually no matter how hard you pull the release cord. That’s the specific problem seismic brackets address.
What Seismic Brackets Do
A seismic garage door bracket is a steel reinforcement that ties the door’s track assembly to the surrounding framing at additional anchor points. Standard installations attach the horizontal track to the ceiling and the vertical track to the wall at the top of the door. During strong lateral shaking, the point where the horizontal and vertical tracks meet is especially vulnerable; a seismic bracket reinforces that junction and adds flexibility so the track doesn’t twist and bind the door. Some designs also include a diagonal brace that connects the track assembly to the garage ceiling joists, distributing shaking forces across multiple structural members.
Which Burbank Homes Need Them
- Homes built before 1980. Construction standards for garage door track anchoring changed after the 1971 Sylmar earthquake, and again after 1994. Older homes in central Burbank, the Magnolia Park district, and the Chandler Bike Path corridor often have minimal track bracing.
- Homes on the hillside. Properties in the Verdugo foothills and Burbank Hills experience amplified ground motion compared to the valley floor. If your home is on a slope or raised foundation, seismic brackets are cheap insurance.
- Garages with tall or custom doors. Anything over seven feet tall or wider than ten feet carries more mass, which means more binding force during shaking.
- Homes within two miles of the Verdugo Fault trace. This includes much of west Burbank and the area near the 5 freeway corridor.
What They Cost and Where to Get Them
Seismic bracket kits from Genie, Clopay, and third-party manufacturers like Garage Door Seismic Retrofit Systems typically run between $60 and $180 for the hardware alone. Installation by a qualified garage door technician in the Burbank area generally takes one to two hours and should include a full track inspection and adjustment. The brackets are available at local building supply stores, but we recommend a professional installation: the bracket must be matched to your door’s weight and track gauge, and an improper retrofit can actually worsen binding by stiffening the wrong part of the assembly. Garage Door Installation in Burbank covers full retrofits and new installations built to current seismic standards.
One note from our experience: after any earthquake strong enough to knock items off shelves in your garage, have the door tracks inspected for alignment even if the door still opens. Hairline track deformation is not always visible to the untrained eye, and a slightly misaligned track will wear out rollers and bearings prematurely.
Battery Backup Opener Systems: What Actually Works in an Outage
Battery backup openers have become standard equipment on new homes in California, and for good reason. During the October 2019 public safety power shutoffs, millions of Californians lost power for days, and thousands of garage doors stayed shut the entire time because homeowners either didn’t have a backup or didn’t know their opener had one. A battery backup system keeps your opener functioning during an outage, letting you open and close the door normally without pulling the manual release or lifting the door by hand.
How They Work
A battery backup is a rechargeable unit, usually mounted inside or alongside the opener motor housing, that provides DC power to the opener when line voltage drops. The opener automatically switches to battery power when the main supply cuts out, and the door operates at reduced speed to conserve energy. When grid power returns, the battery recharges automatically over several hours.
Real-World Runtime
Manufacturer claims on battery backup runtime are typically stated as “20 to 30 cycles” per charge, but real-world performance in Burbank conditions is usually lower. Heat degrades battery capacity, and our garages hit 100 degrees or higher during summer months, especially in homes without insulated doors on south-facing exposures. In practice, most battery backup systems installed on LiftMaster, Chamberlain, and Genie openers provide between 8 and 15 full open-close cycles on a fully charged battery, which translates to two or three days of normal use. That’s enough for an evacuation scenario, but not enough to treat the backup as indefinite power.
Which Models Include Battery Backup
- LiftMaster models with the “BBU” suffix include integrated battery backup. The 8550WLB and 8160WB are common examples found in Burbank homes.
- Chamberlain models with “B” in the model number include the backup; the B970 and B1381 are widely installed locally.
- Genie offers the B6172 and other models with integrated backup, plus the GBH-1 external battery unit that mounts adjacent to compatible openers.
- Most Wayne Dalton and Raynor openers do not include battery backup as a factory feature. If you own one of these, an aftermarket backup unit or a manual release plan is your best option.
If your opener doesn’t have backup and you’re not ready to replace the whole unit, a dedicated manual release plan (covered in the emergency card section) is still completely viable for evacuation scenarios. The limitation is that manual release requires physical strength to lift the door, which may not be available to elderly residents or those with mobility limitations. For households where someone can’t lift the door alone, a battery backup opener or an external backup unit is worth the investment.
One more practical note: test your battery backup every six months. Unplug the opener from the wall outlet (or flip the garage circuit breaker) and cycle the door two or three times. If it moves noticeably slower or dies after one cycle, the battery is near the end of its life and should be replaced. Most backup batteries last three to five years under Burbank’s climate conditions.
Building a Laminated Garage Emergency Card
The single most effective emergency preparedness item for your garage is free to make and takes about twenty minutes. We call it a garage emergency card, and every Burbank home should have one mounted near the interior garage door, visible from the kitchen or laundry room entrance. The card exists because during an actual emergency, stress and adrenaline make it nearly impossible to remember multi-step procedures or locate a manual you haven’t opened in years. The card puts everything on one laminated sheet that a teenager or house guest can follow in under a minute.
What Goes on the Card
- Opener brand and model. Write it exactly as it appears on the motor housing label. Include any remote model numbers if visible.
- Manual release instructions specific to your brand. This is the three-step version: “1. Door closed. 2. Pull red cord toward door. 3. Lift by handle.” Include the release cord color and general position so someone unfamiliar with the garage can find it.
- Re-engagement instructions. For LiftMaster and Chamberlain: “Press wall button once.” For Genie: “Press remote once, then pull release cord again.” For all others: include the specific steps from the section above.
- Emergency contact number. This should be the number of someone who can help when the primary homeowner is not present. We recommend including a neighbor, a family member, and your garage door service provider.
- Breaker box location and garage circuit label. If the opener has no power and won’t respond, checking the breaker is the first step. Note which breaker controls the garage, usually labeled “Garage” or “GFCI” on a 15 or 20 amp circuit.
- Manual lock instructions if applicable. Some Burbank homes have side-mounted slide locks or handle locks. Write down where the lock is and how to disengage it before attempting to lift the door.
Where to Mount It
The card should be mounted at eye level on the wall next to the door between the garage and the house, on the garage side. Use clear packing tape or an adhesive laminating pocket. The card should be visible and readable without a flashlight, which means a dark card with white text or a high-contrast standard black-on-white with large font. If your garage has no lighting backup, mount a small LED push light next to the card as well.
Practice the manual release with everyone in the household at least once a year, ideally when the clocks change in spring and fall. Ten minutes once a year eliminates the possibility that a 10-second procedure becomes a 30-minute panic during the next outage.
Common Mistakes to Avoid
- Pulling the release cord while the door is open. This causes the door to drop under its own weight, which can shear a panel, snap a cable, or injure someone below. Always confirm the door is fully closed first. If the door must be released while open, support it with a ladder or a second person before pulling the cord.
- Assuming the opener remotes are broken after a power outage. In our experience across Burbank, more than half of “broken remote” calls after an outage are actually re-engagement issues. The trolley is still disconnected from the rail, and the remotes are fine. Press the wall button once to re-engage before assuming you need new remotes.
- Forcing a door that refuses to lift manually. If the door will not budge or feels like it’s welded shut, do not keep pulling. This indicates a spring failure or track obstruction, and continued force can cause the door to come off its track or a cable to snap. Call a professional.
- Leaving the manual release cord knotted or taped up. We see this often in Burbank garages that have been converted to storage or workshops. The cord gets tied back to keep it out of the way, but that makes it useless in an emergency. The cord must hang free and be easily reachable from standing height.
- Relying solely on a smartphone app during an emergency. MyQ, Genie Aladdin, and other smart opener systems require an internet connection working on both ends, and cell service can be unreliable during a wildfire evacuation. Have the manual release card as a physical backup that works with zero power and zero connectivity.
- Not testing the manual release before an earthquake. Earthquakes don’t give you a practice run. If you’ve never pulled the release cord, you’ll be figuring it out in the dark with the ground shaking. Test it this weekend, then re-engage it using the correct sequence for your opener.
When to Call a Professional
Some garage door problems are emergencies that require immediate professional attention, and some are maintenance items you can schedule. If your door is stuck open and won’t close, that’s an emergency call it in. If the springs are broken, the door will not lift safely and should not be forced; a professional needs to replace them. If the door came off its track during attempted manual operation, do not try to force it back; the cables and springs are under tension and can cause serious injury. If your opener works intermittently after a power outage or makes grinding noises, the gear assembly or logic board may be damaged. Garage Door Repair in Burbank covers spring replacement, track realignment, and all emergency repairs. Anchor Garage Door Repair offers free estimates in Burbank, call (833) 589-9142.
Frequently Asked Questions
Pull the red manual release cord hanging from the opener rail, then lift the door by hand using the bottom handle or edge. The release cord disconnects the door from the motorized trolley, allowing manual operation. Practice this once before an actual outage so you know where the cord is and how much force the door requires to lift.
In most cases no, the remotes retain their programming through a power loss because the codes are stored in non-volatile memory. What commonly happens is the trolley disengages and the remotes appear broken because the door won’t move. Re-engage the trolley first, and only then reprogram remotes if they still don’t respond. Call (833) 589-9142 if you need help diagnosing the issue.
Every residential garage door opener sold in the last forty years includes a manual release mechanism, but the location, color, and re-engagement procedure vary by brand. LiftMaster and Chamberlain use a red T-handle cord with automatic re-engagement, while Genie requires a two-step process. Find your specific instructions in the brand section above and add them to your emergency card.
The most common post-earthquake issues are track misalignment, worn or broken rollers, and spring displacement. Even moderate shaking can shift the track assembly by a fraction of an inch, which causes binding and premature wear. Have your door inspected after any earthquake strong enough to rattle windows; the inspection is inexpensive compared to a full track replacement later.
Some openers support external battery backup units that connect to the motor housing, but not all do. LiftMaster and Chamberlain make add-on units for select models, and Genie offers the GBH-1 external battery. For openers that don’t support a battery add-on, replacement with a backup-equipped model or a solid manual release plan are the two viable options.
Emergency garage door repair in Burbank typically ranges from $150 to $450 depending on the issue, with spring replacement on the higher end and minor track adjustments on the lower end. The specific price depends on your door’s brand, size, and the number of parts replaced. Anchor Garage Door Repair provides free estimates and quotes the full price before any work starts, call (833) 589-9142.
The Bottom Line
A garage door that fails during an emergency is a preventable problem. The fix isn’t expensive or complicated: know your opener brand, learn the manual release, practice it once a year, and put the instructions on a laminated card in the garage. For Burbank specifically, the combination of seismic risk and wildfire-driven power shutoffs means this preparation isn’t theoretical; it’s the difference between evacuating in five minutes and being trapped by your own door. Whether you own a LiftMaster with battery backup or a twenty-year-old Wayne Dalton with nothing but a pull cord, the steps in this guide work with what you already have. For more guides & resources on garage door safety and maintenance, visit our blog. If you want a professional to inspect your setup, test the release, or install a backup system, Anchor Garage Door Repair offers free estimates in Burbank. Call (833) 589-9142 and get it done before the next outage, not during it.
Written by the team at Anchor Garage Door Repair, serving Burbank since 2011.
See the difference
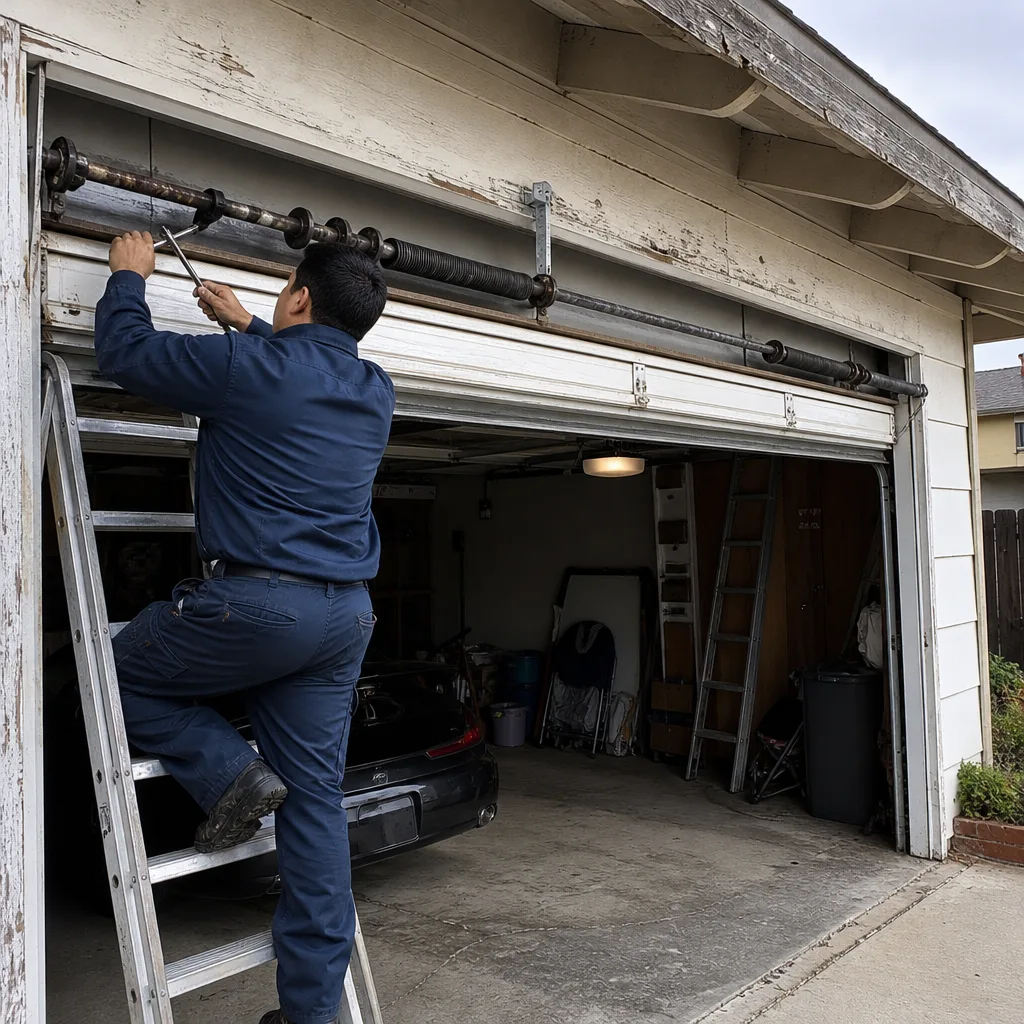 Before
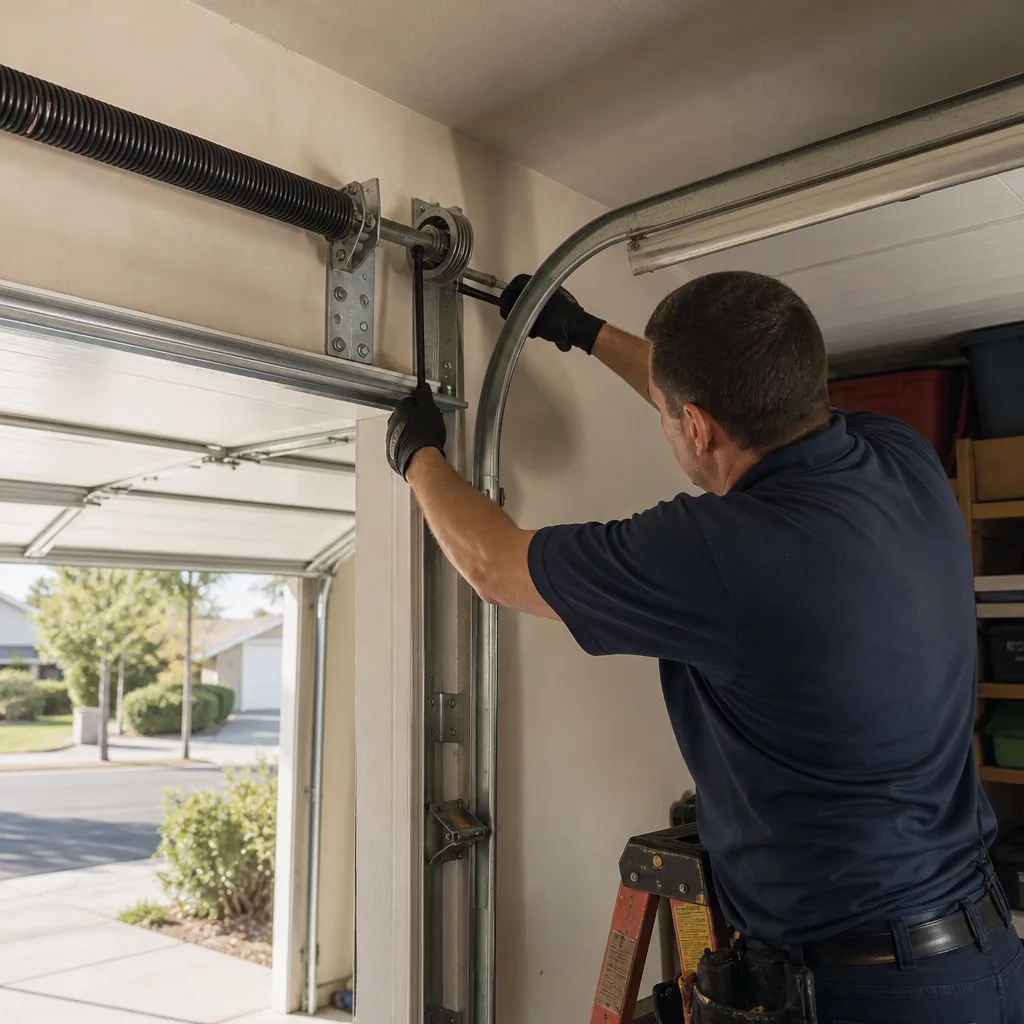 After
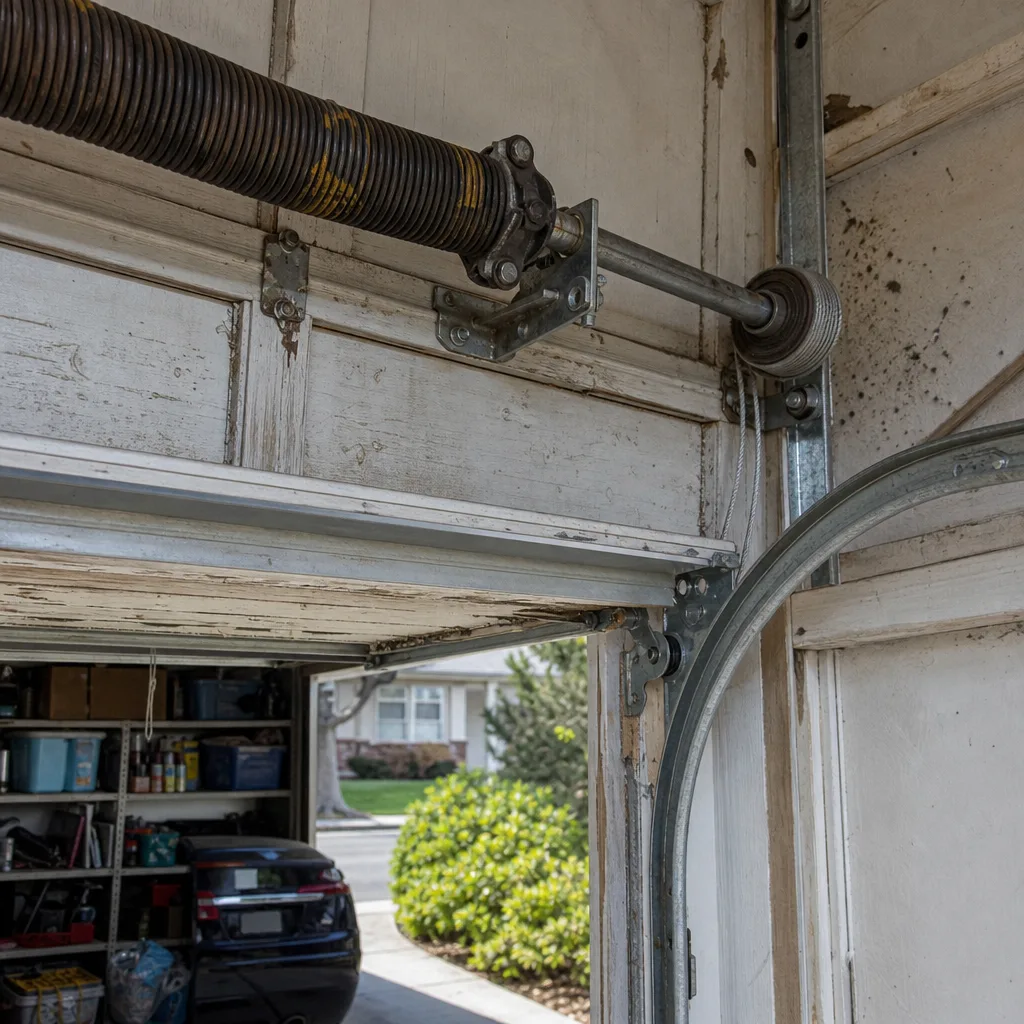 Before
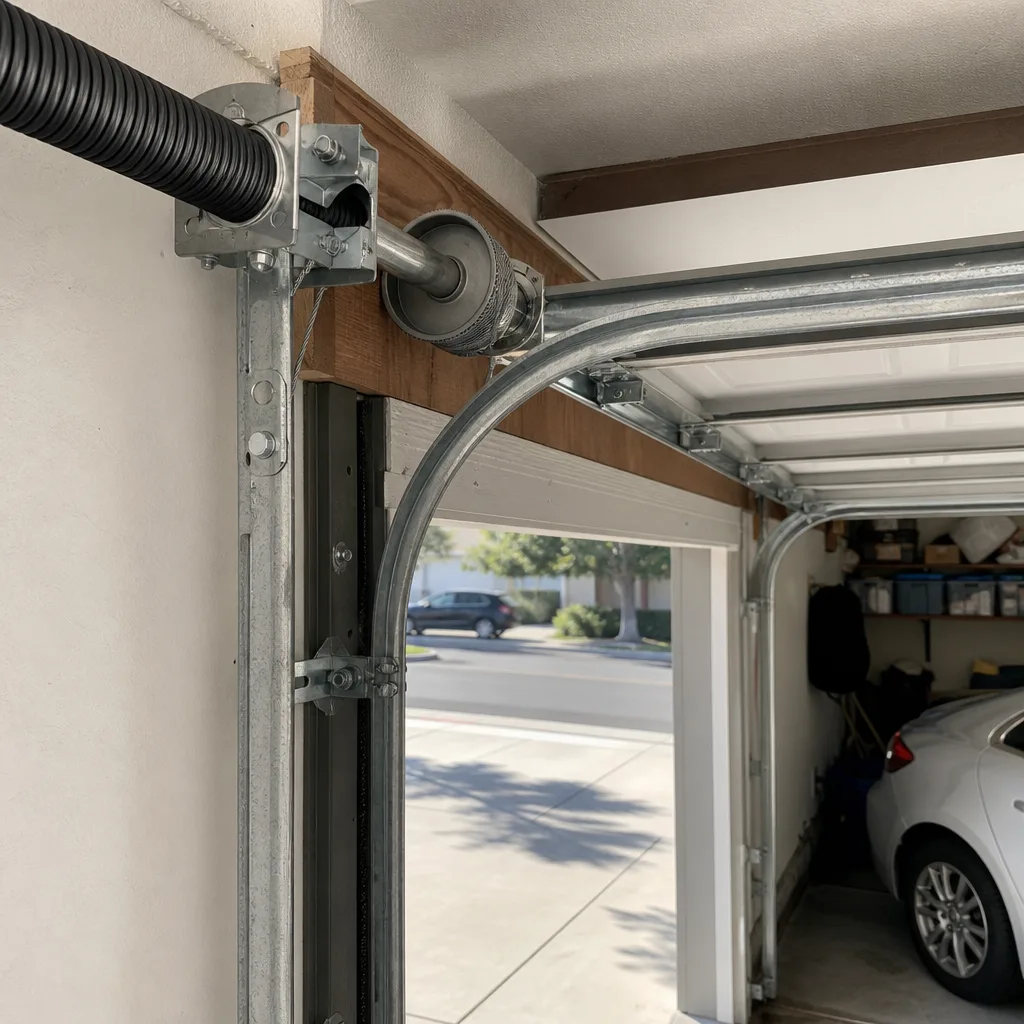 After
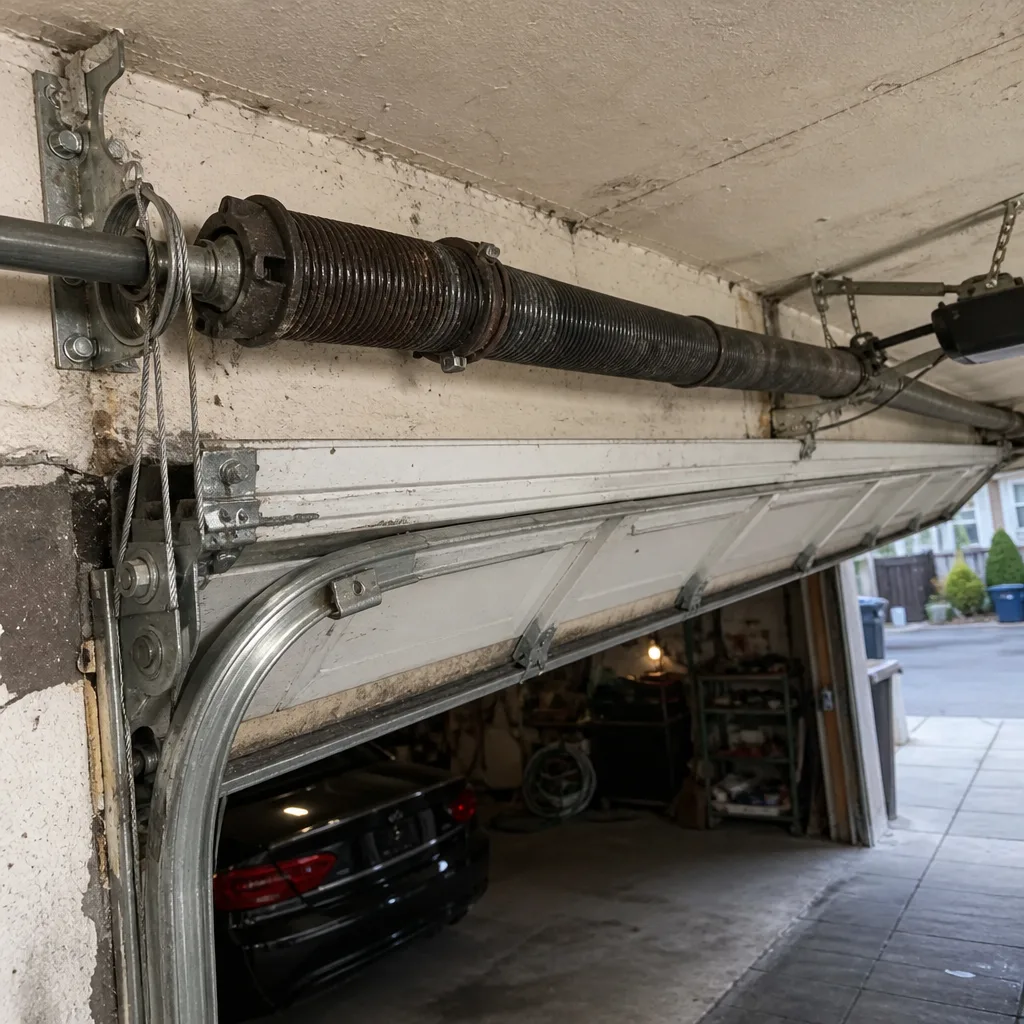 Before
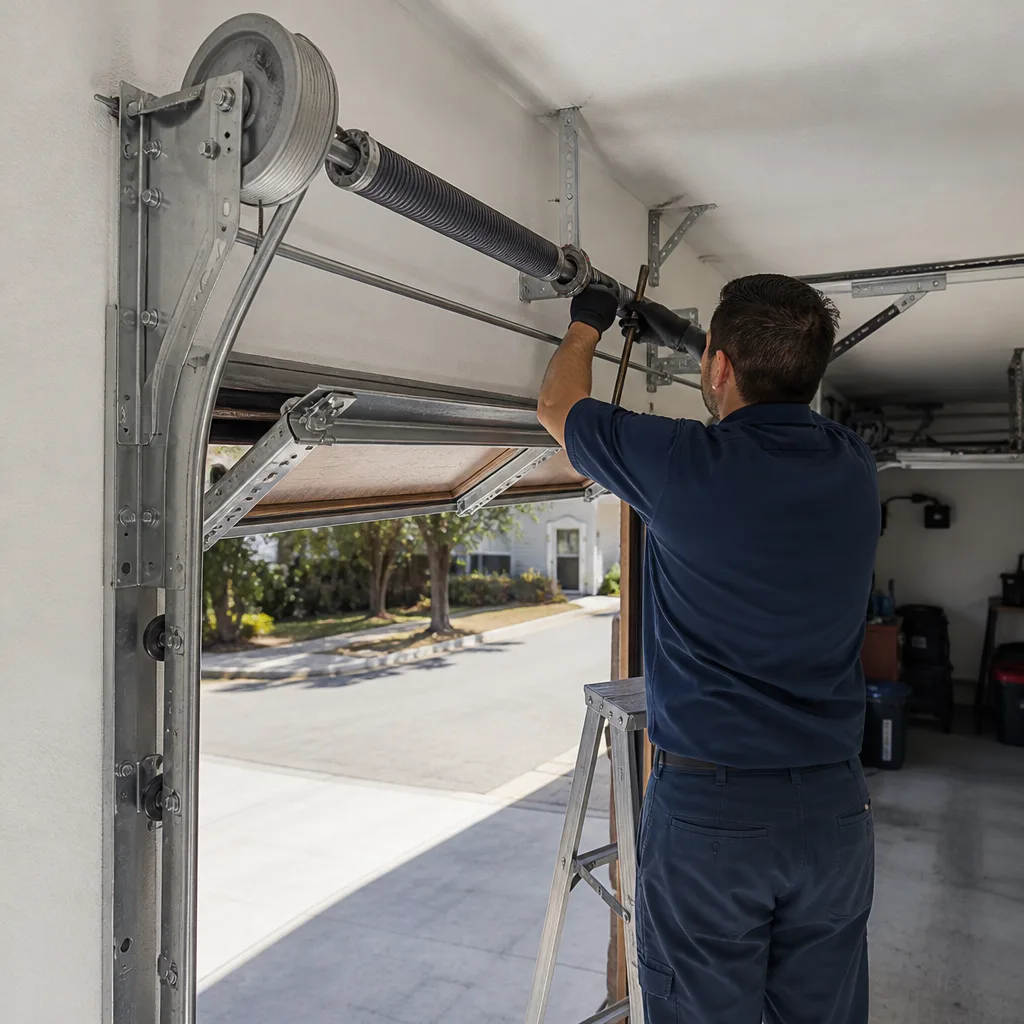 After