
Last updated November 2, 2026
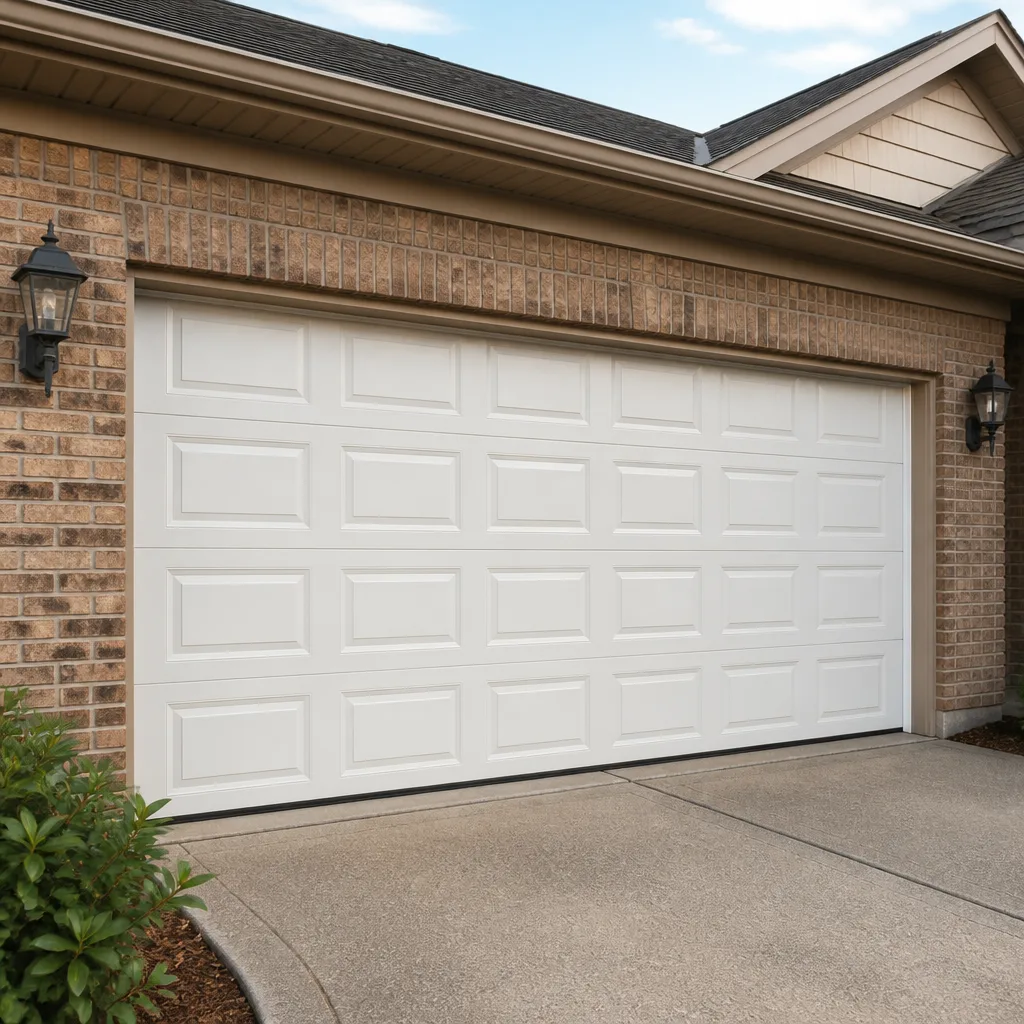 Raised-panel steel
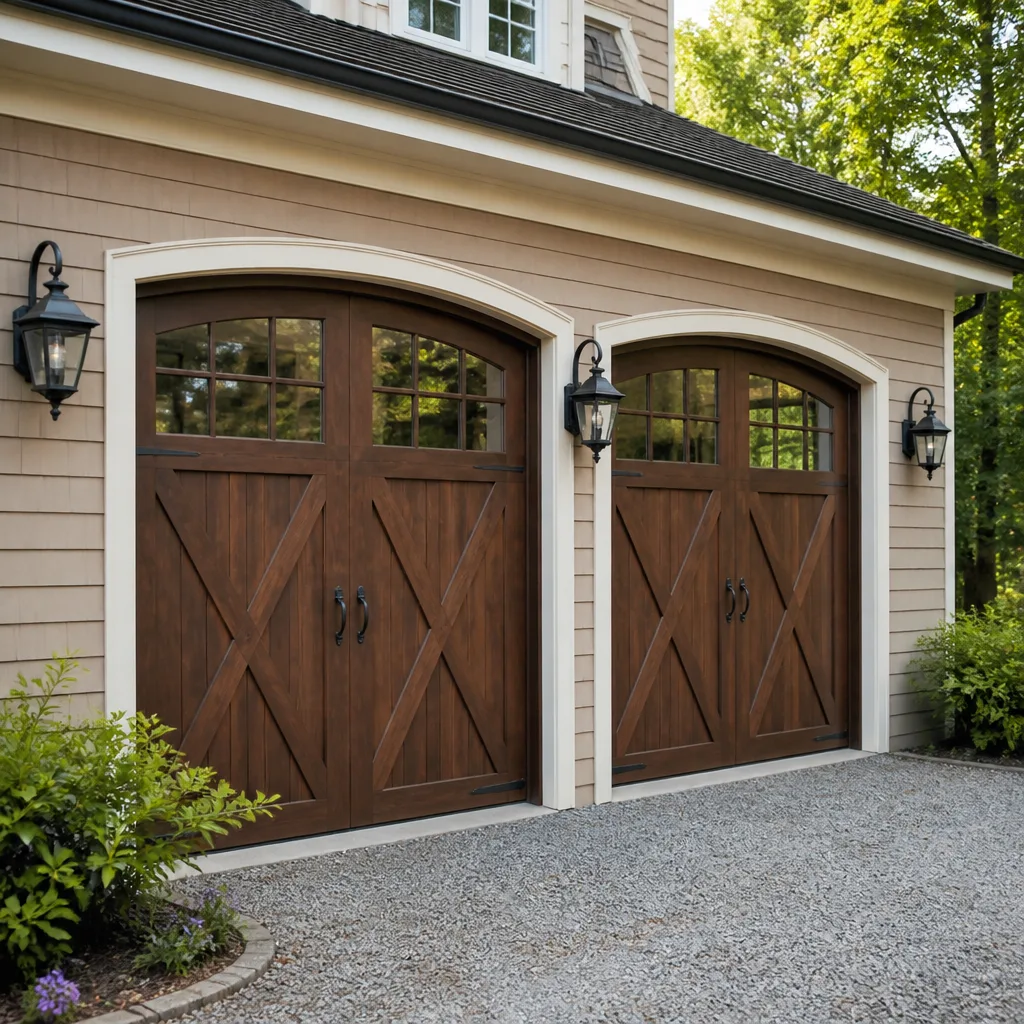 Carriage house
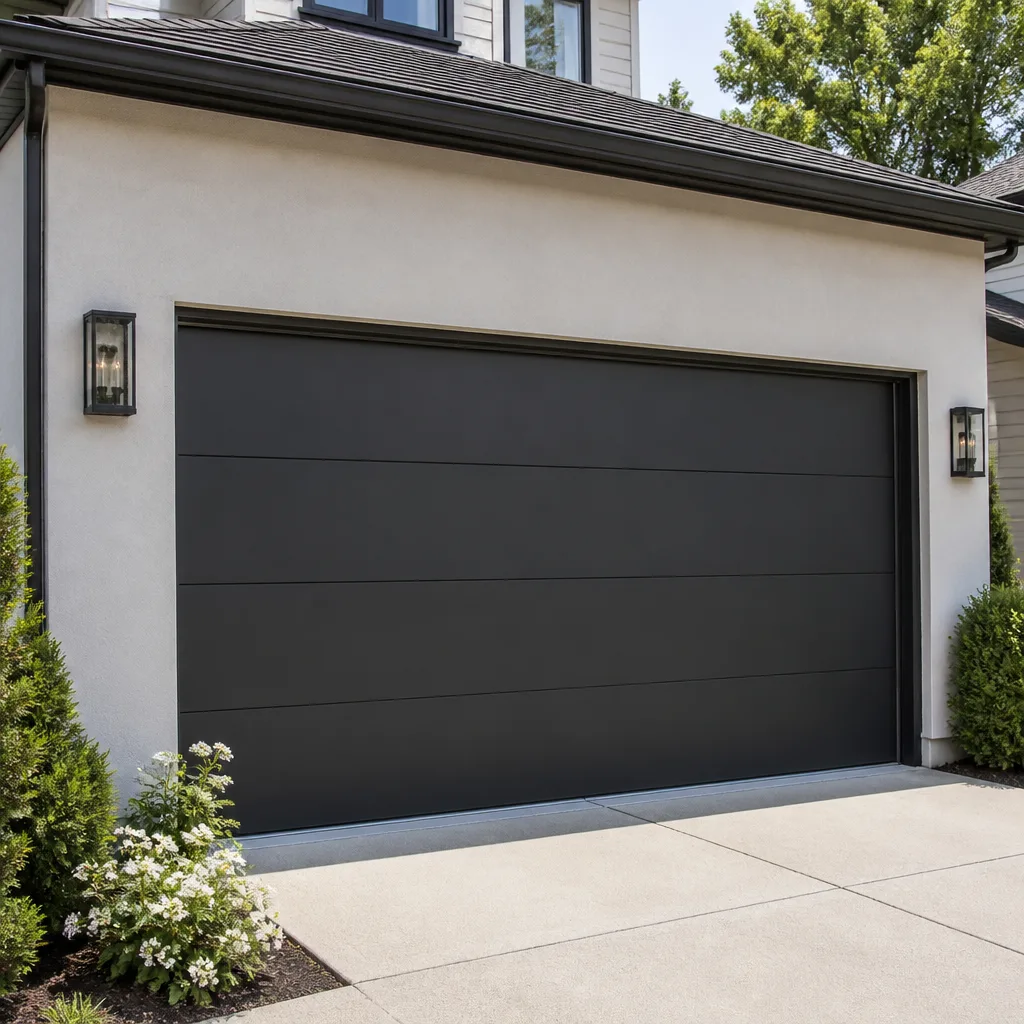 Modern flush
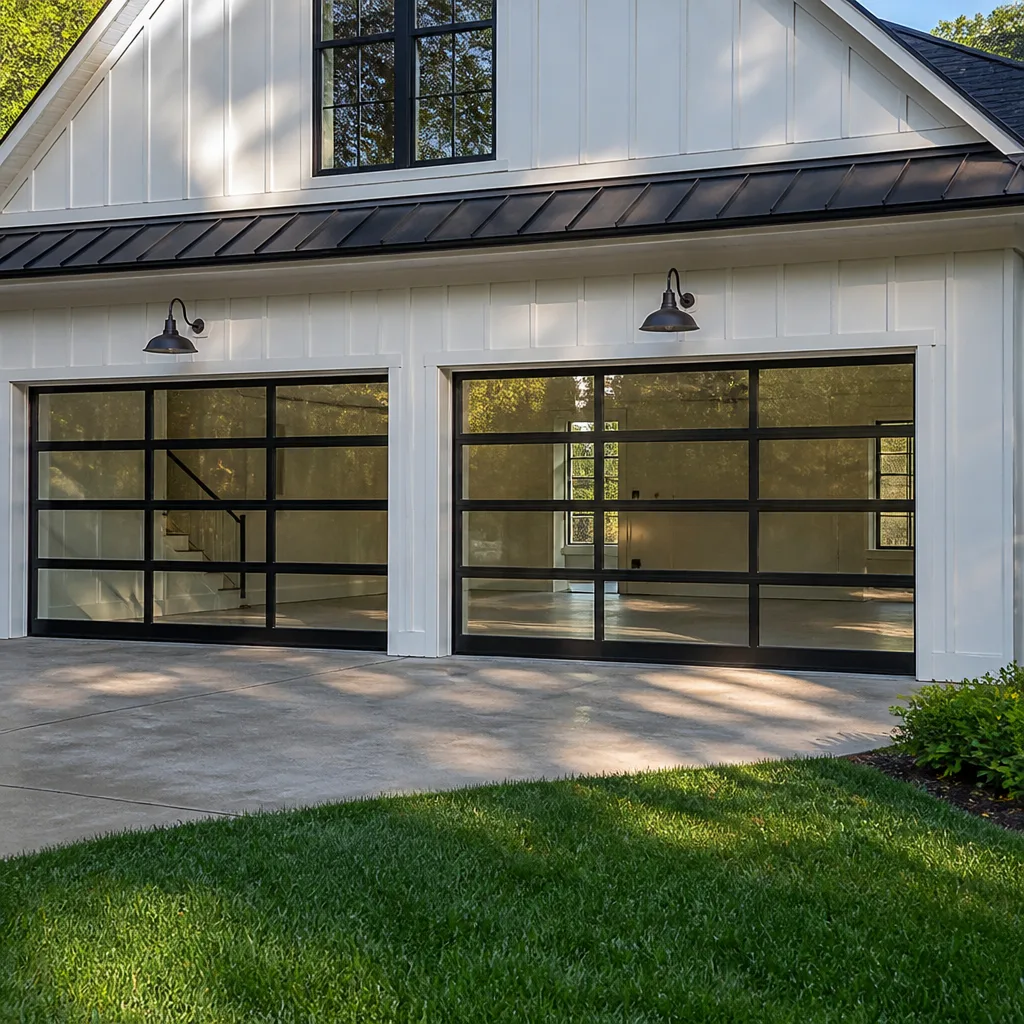 Full-view glass
 LiftMaster openers
 Chamberlain openers
Full 25-point door and opener safety check with every visit - springs, cables, rollers, tracks, and your LiftMaster or Chamberlain opener included
You get a price before we start. It does not change when the truck arrives.
Get your free estimateGarage Door Repair Troubleshooting: Common Problems and How to Fix Them
Here’s something most homeowners in Burbank don’t realize until they’re standing in the driveway at 7 a.m. with a car trapped in the garage: the majority of “broken” garage doors aren’t broken at all. They’re confused. A tripped sensor, a dead remote battery, a door that slipped off its programmed limits. Nine out of ten service calls we run start with a problem the homeowner could have identified in under ten minutes. This guide walks through the five root causes behind most garage door failures, how to tell an opener problem from a door problem without tools, and the exact point where troubleshooting should stop and our Garage Door Repair services should start.
Quick Answer
Most garage door problems fall into five categories: power or remote issues, photo-eye sensor misalignment, broken springs or cables, track obstruction or misalignment, and opener limit or force setting errors. Start by checking power and the photo-eye sensors, then listen to what the door does when you press the button. If the door moves at all, the problem is mechanical; if nothing happens, it’s electrical or the opener. Springs and cables are dangerous and should never be serviced by a homeowner.
Styles & brands we work with
- Raised-panel steel
- Carriage house
- Modern flush
- Full-view glass
- LiftMaster openers
- Chamberlain openers
Table of Contents
- The Symptom-First Framework: Diagnose by Behavior
- Opener Problems vs. Door Mechanical Problems: How to Tell
- Opener Error Codes and Flash Patterns, Decoded
- The Three Steps That Are Always Safe (and Where to Stop)
- Why a Door That Reverses Is a Safety Issue
- The Five Root Causes of Most Garage Door Failures
- What You Can Fix Yourself vs. What Needs a Technician
The Symptom-First Framework: Diagnose by Behavior
Forget trying to memorize part names. The fastest way to diagnose a garage door is to categorize what the door actually does when you press the wall button or remote. Most failures in Burbank homes, whether the door is a Wayne Dalton, a Clopay, an Amarr, or something older, fall into one of four behavior patterns.
If the door won’t move at all, you’re looking at a power issue, a locked opener, a dead remote or wall button, or a safety sensor that’s blocked. If the door moves a few inches and stops, the opener’s force settings may be off, the door may be binding on the track, or a spring may be partially compromised. If the door moves but makes noise, you have a lubrication need, a worn roller, a loose hinge, or a failing opener gear. If the door moves unevenly or hangs crooked, the problem is a cable, a spring, or a track alignment issue.
This framework matters because it changes what you check first. A door that won’t move sends you to the power and the sensors. A door that moves partially sends you to the track and the springs. Jumping straight to “the spring broke” without observing behavior is how homeowners end up buying parts they don’t need, so review Garage Door Warning Signs: A Burbank Homeowner’s Reference Guide before guessing.
Here’s the Burbank-specific reality. Our summers hit triple digits, and that heat does two things: it dries out lubricant faster, and it makes metal components expand. A door that ran fine in January may bind in August simply because the track shifted a few millimeters in the heat. We see this constantly in neighborhoods like Magnolia Park and the Verdugo foothills, where doors face direct afternoon sun. Before you assume a major component failed, check whether the problem appeared during a temperature swing.
Opener Problems vs. Door Mechanical Problems: How to Tell
The fastest way to separate an opener problem from a door problem is to pull the emergency release cord. That’s the red cord hanging from the rail. Pull it down and toward the door. This disconnects the opener from the door.
Now try lifting the door by hand. Grab the handle or the bottom edge. A properly balanced door should lift smoothly with moderate effort, stay open around waist height, and close without slamming.
If the door lifts easily by hand and stays put, the door is fine. The problem is in the opener: a gear, a logic board, a limit switch, or a sensor. If the door is heavy, jerky, uneven, or won’t stay open, the door itself has a mechanical issue: a spring, a cable, a roller, or a track problem. The opener may also be struggling, but it’s struggling because the door is fighting it.
This test takes 30 seconds and prevents misdiagnosis. Opener repair is a distinct service at Garage Door Opener Repair in Burbank, and for good reason: openers are the most failure-prone component of any system. But putting a new opener on a door with a failing spring doesn’t fix anything. It just burns out the new opener faster. We service LiftMaster, Chamberlain, Genie, and Craftsman openers regularly, and the units themselves are rarely the root cause of a door that’s moving badly. In our experience, the door’s mechanical health determines how long any opener lives.
One more distinction: if the opener runs but the door doesn’t move, the problem is almost always the opener’s internal gear or the carriage assembly. If the opener makes a grinding sound for a second and stops, that’s a stripped gear. If the opener hums but nothing turns, that’s the capacitor or the motor. Both are opener repairs, not door repairs.
Opener Error Codes and Flash Patterns, Decoded
Modern openers talk. They don’t use words, but they flash lights in specific patterns, and those patterns mean specific things. Here’s what the most common ones mean in plain language.
LiftMaster and Chamberlain (same parent company, similar logic boards):
- One flash: Sensor wire is disconnected or shorted. Check the wires running from the sensors to the opener head.
- Two flashes: Photo-eye sensors are misaligned or blocked. One sensor has a solid light, the other blinks. Straighten them until both lights are solid.
- Five flashes: Overheated motor. Let it cool for 15 minutes. If it recurs, the door is too heavy for the opener, or the opener is failing.
- Six flashes: Logic board failure. This is not a homeowner fix. The board needs replacement.
Genie:
- Red light blinking twice: Photo-eye path is blocked. Same fix: align the sensors.
- Red light blinking four times: Force setting issue. The opener is detecting too much resistance. This often means a spring is weak and the opener is working harder than it should.
- Red light blinking five times: Overheat. Let it rest.
Craftsman (older units especially):
- One blink: Sensor obstruction.
- Two blinks: Sensor wiring problem.
- Three or four blinks: Force or travel limit error. The opener forgot where the door should stop.
These codes matter because they turn a vague “it’s not working” into a specific target. A Raynor or Wayne Dalton door with a LiftMaster opener will use the LiftMaster codes. The door brand doesn’t matter for the opener codes; the opener brand does.
If you’re unsure what your opener’s lights are saying, the manual has a chart. If the manual is long gone, the model number printed on the opener body plus a quick search will get you the right chart. Knowing the code before you call means you can tell us exactly what the unit is doing, which gets you a faster diagnosis.
The Three Steps That Are Always Safe (and Where to Stop)
Some troubleshooting steps are safe for any homeowner. Some are not. Here’s the clean dividing line.
Safe steps anyone can do:
- Check power and lock. Confirm the opener is plugged in, the outlet has power, and the wall button’s lock feature isn’t engaged. On many LiftMaster and Chamberlain units, holding the lock button for two seconds disables the remote. That alone causes a surprising number of “dead door” calls.
- Inspect and align photo-eye sensors. The sensors are the two small units near the bottom of the door tracks, usually four to six inches off the floor. If the sending sensor’s light is lit but the receiving sensor’s light is blinking or out, they’re misaligned. Loosen the wing nut, aim the sensor until both lights go solid, and tighten. If the lenses are dusty, wipe them with a dry cloth. This fixes, conservatively, a quarter of all no-opener-response issues we see in Burbank garages where dust from the hills accumulates quickly.
- Replace remote batteries and test the wall button. If the remote does nothing but the wall button works, it’s the remote: battery, programming, or the remote itself. If the wall button also does nothing, the problem is upstream at the opener or the power source.
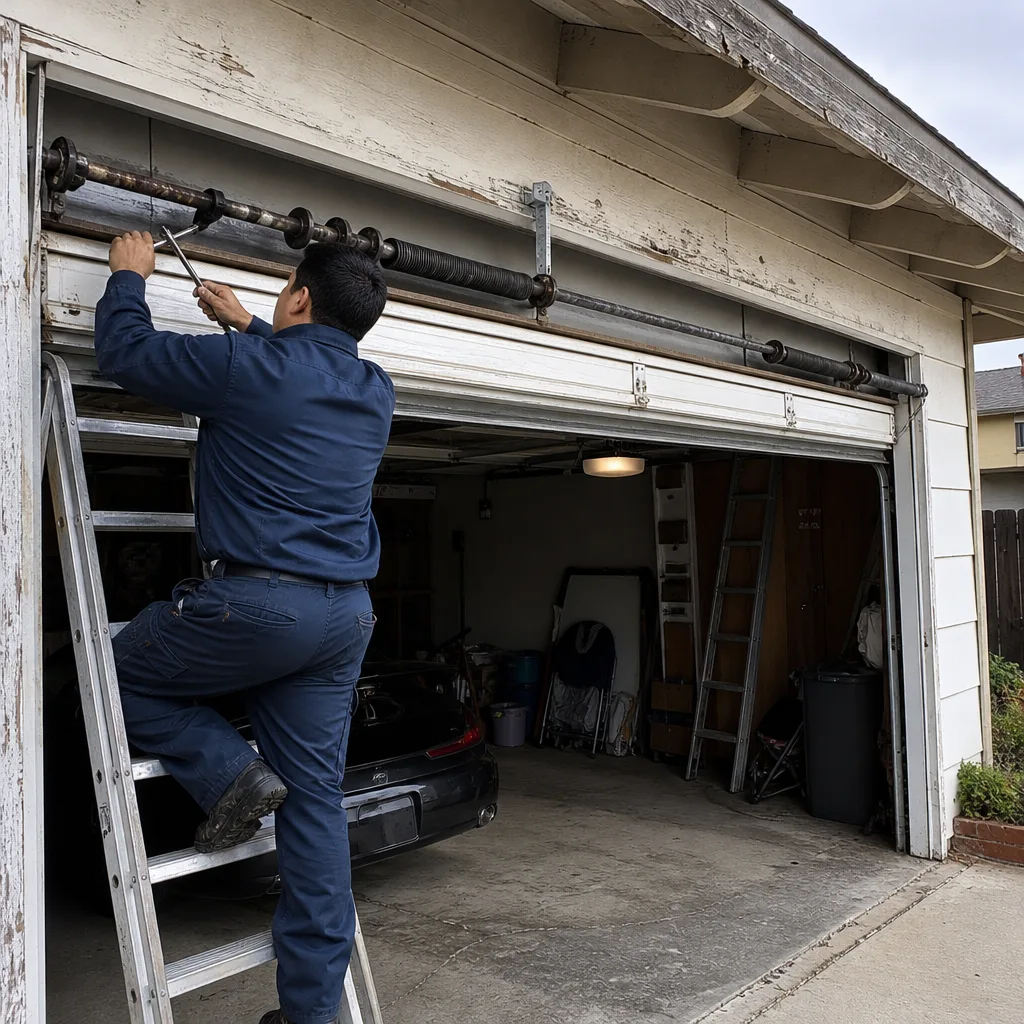
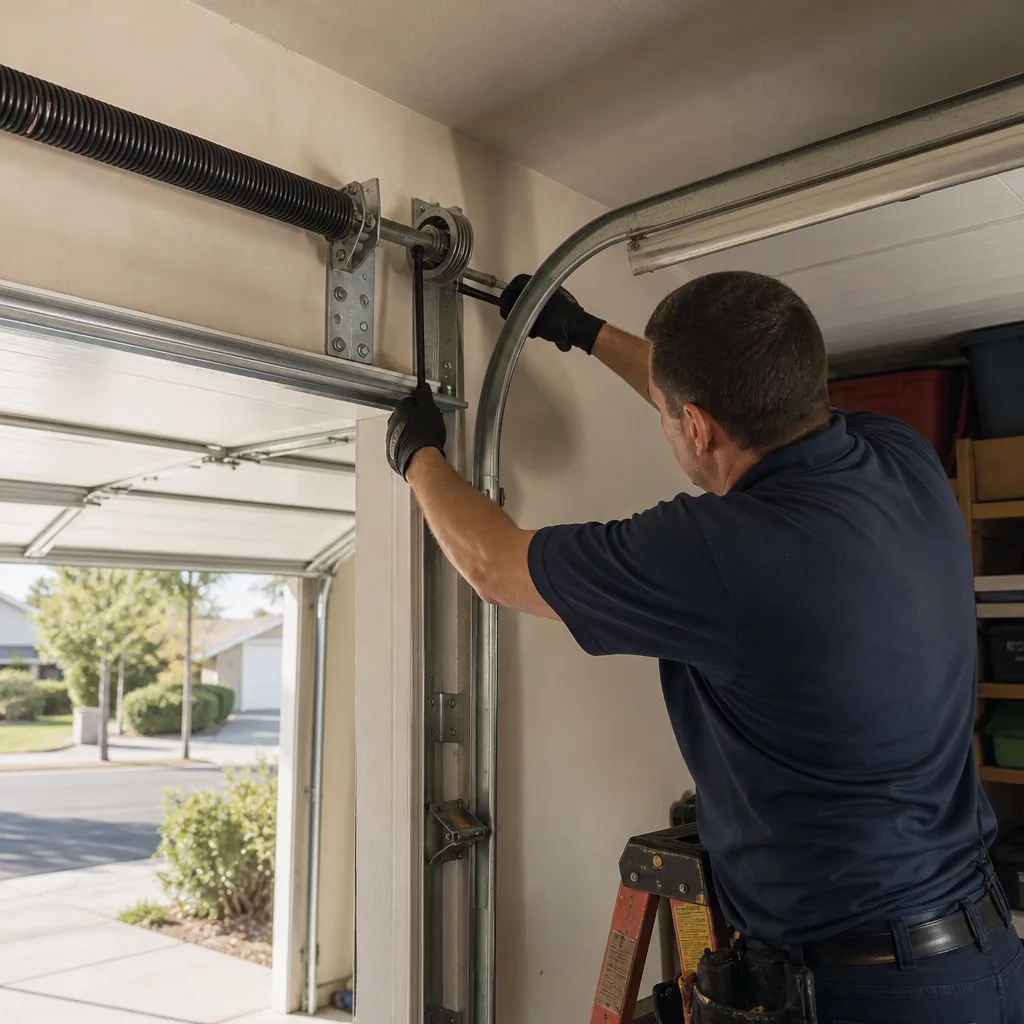
Where to stop: Springs, cables, and anything under tension. Torsion springs, the big coils above the door, hold hundreds of pounds of force. Extension springs along the tracks are equally dangerous. Cables run through pulleys under constant load. If you see a gap in a torsion spring, a dangling cable, or a spring that’s clearly in two pieces, close the door by hand if possible and leave it alone. Do not attempt to adjust, replace, or even touch these parts. A broken torsion spring can release fast enough to break bone. This is not a caution, it’s a hard line. At Anchor Garage Door Repair home, we’ve seen the aftermath of DIY spring attempts, and none of those homeowners saved money.
Why a Door That Reverses Is a Safety Issue
A garage door that closes halfway, then reverses and goes back up, is doing exactly what it was designed to do. Since 1993, federal law has required all residential garage door openers to include an auto-reverse mechanism: if the door hits resistance, it stops and reverses. The problem is that resistance doesn’t have to be a child or a bicycle. It can be a track that’s out of alignment, a roller that’s seized, a spring that’s lost tension, or a floor that’s shifted. The door reverses because it’s hitting something, and that something doesn’t have to be visible.
When a door reverses unexpectedly, homeowners often respond by holding the wall button down. On most openers, holding the button bypasses the auto-reverse safety. That’s a genuinely dangerous move. A door that’s binding on a bad roller may one day break the roller loose entirely, and a door falling without control is a serious injury risk.
The trigger is usually one of three things. First, the close-force setting is too low. The opener is calibrated to a lighter door than the one it’s lifting, and it reads normal resistance as an obstruction. Second, the photoelectric sensors are briefly misaligning as the door passes, which interrupts the beam and tells the opener to reverse. Third, a spring or cable is failing, and the door is genuinely heavier than it should be.
You can test the first cause by cleaning and realigning the sensors, then trying again. If the door still reverses, and especially if it reverses at different points in the travel, stop using the opener and call a technician. In Burbank, where many homes have attached garages and kids who play in driveways, a properly calibrated auto-reverse isn’t an inconvenience. It’s the most important safety feature on the door.
The Five Root Causes of Most Garage Door Failures
Strip away the noise, and almost every garage door problem traces to one of these five root causes. Here’s each one, what it looks like, what it costs to fix in the Burbank market, and whether it’s a homeowner repair or a technician job.
1. Dead remote or wall button. The door does nothing, but the opener has power. Fix: replace the battery in the remote, check the lock button on the wall console, or reprogram the remote. In Burbank, this is the single most common reason people think their door is broken. It’s also the one that costs nothing to fix if you’re willing to check the basics first.
2. Photo-eye sensor misalignment. The door won’t close, or it reverses immediately, and the opener flashes a code for sensor obstruction. Fix: align the sensors so both lights show solid. Wipe the lenses. Check the wires. This is the second most common issue, and it’s completely homeowner-fixable.
3. Broken or worn torsion spring. The door is suddenly extremely heavy by hand, or it won’t lift at all, and you can see a gap in the spring coil above the door. Fix: none you should attempt. Springs fail once, and when they go, they go without warning. In Burbank, with our temperature swings, springs typically last 8-12 years, and most homes need their first spring replacement between year 8 and year 12 of ownership. This is a technician job, full stop.
4. Cable off the drum or track obstruction. The door hangs crooked, makes a grinding noise, or one side sits higher than the other. Fix: if it’s a cable, call a technician. If it’s simply track debris or a small misalignment, you may be able to clear it, but bending track sections back into alignment is not a homeowner task. The steel track must be perfectly parallel for the rollers to travel smoothly.
5. Opener limit or force setting drift. The door opens or closes but doesn’t stop at the right point, or it reverses partway. Fix: reprogram the travel limits and force settings on the opener. This is homeowner-accessible on most LiftMaster, Genie, and Chamberlain units through the wall console or the app, but it requires following the manual carefully. If the settings won’t hold, the logic board may be failing.
In our experience working on every major brand, including Raynor, Amarr, and Clopay doors with a mix of opener brands, the spring is the only one of these five that can’t be patched. Everything else can sometimes be adjusted or cleaned back into working order, but the spring either holds or it doesn’t. When it doesn’t, the fix is a new spring pair sized to the door’s weight, which requires knowledge of door weight, spring wire gauge, and cycle life ratings. That’s not a guess; it’s a calculation.
What You Can Fix Yourself vs. What Needs a Technician
Here’s a straight answer, no hedging. You can safely handle these:
- Replacing remote and keypad batteries
- Reprogramming remotes and keypads (following the manual)
- Cleaning and aligning photo-eye sensors
- Clearing obvious debris from the track (loose leaves, small rocks, cobwebs)
- Lubricating hinges, rollers, and springs with a garage-door-specific lubricant (never WD-40, which attracts grit)
- Resetting travel limits on modern openers with digital controls
You should not attempt these:
- Torsion spring replacement or adjustment
- Extension spring replacement or adjustment
- Cable replacement or reattachment
- Track realignment that requires bending metal
- Opener motor or logic board replacement
- Any repair involving a door that’s off its hinges or obviously under tension
The rule of thumb is simple: if the part is under tension or the fix requires a ladder and a wrench on the spring assembly, it’s a professional job. The cost of a Burbank service call is modest compared to the medical bill from a spring failure.
And if you’re not sure? That’s exactly what a professional assessment is for. A good technician will tell you the truth about what’s worth fixing, which is why Garage Door Repair in Burbank is our most requested service. We don’t sell replacements when a repair will do. We sell the right fix for the door in front of us.
Common Mistakes to Avoid
- Holding the wall button to force a reversing door closed. This overrides the auto-reverse safety and masks a real problem that will get worse. The door is reversing because something is wrong, not because the opener is confused.
- Lubricating with WD-40. WD-40 is a solvent, not a lubricant. It strips whatever lubrication was there and leaves the metal dry. Use a silicone or lithium-based garage door lubricant on rollers, hinges, and springs.
- Assuming a dead remote means a dead opener. Check the wall button before calling anyone. If the wall button works, the opener is fine, and you’ve saved yourself a service call.
- Replacing the opener when the door is the problem. A heavy door kills openers. If you replace the opener without addressing a weak spring, the new opener will fail early. This happens constantly in Burbank, where older homes still have original doors from the 1960s and 1970s.
- Ignoring a noisy door. Noise is communication. A squeaky roller is a dry roller. A grinding sound is a failing bearing or a cable about to let go. Fix the noise early and you avoid the breakdown.
- Using the garage door as the only entrance. If the door fails and you have no other entry, you’re locked out. Every home should have a working side door or a keyed emergency release kit. In Burbank’s older neighborhoods, like the Rancho District, many garages lack a separate entrance. A keyed release kit costs little and saves a lot.
See the difference
 Before
 After
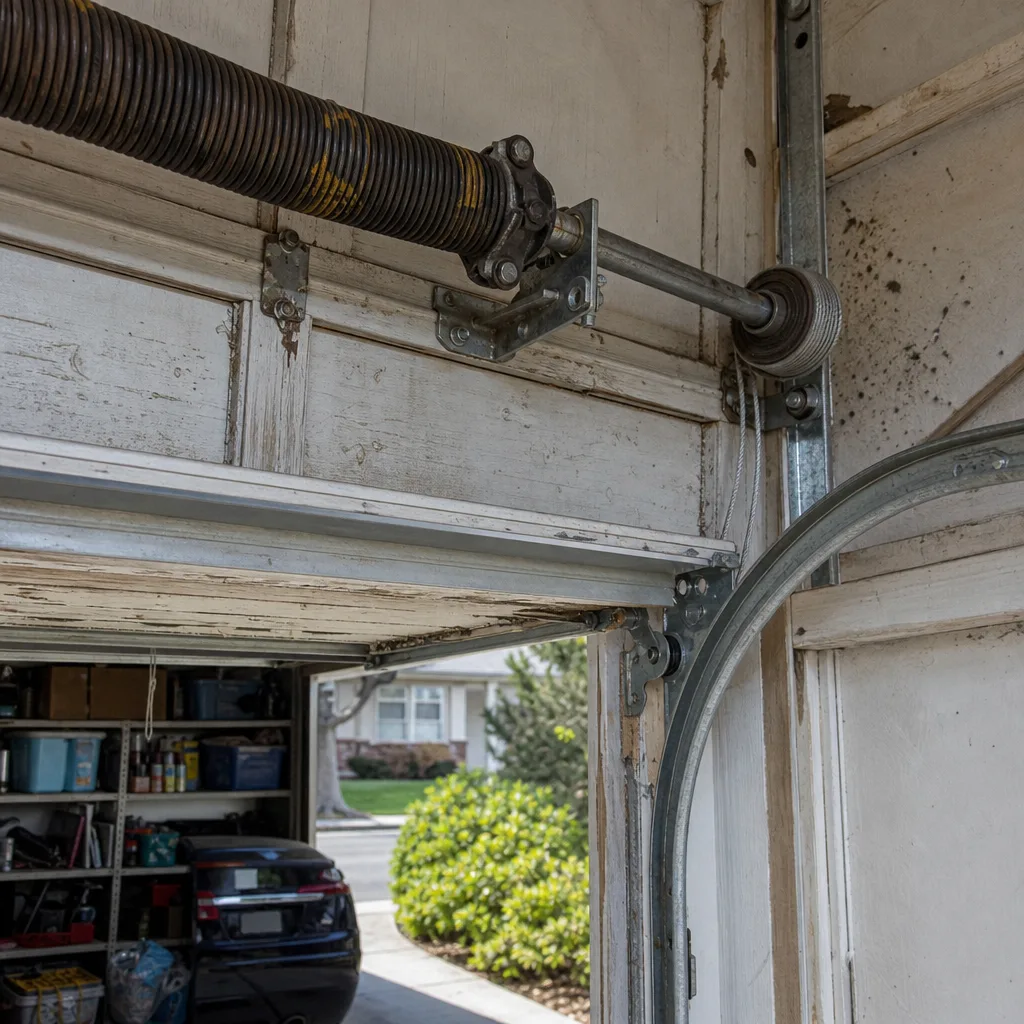 Before
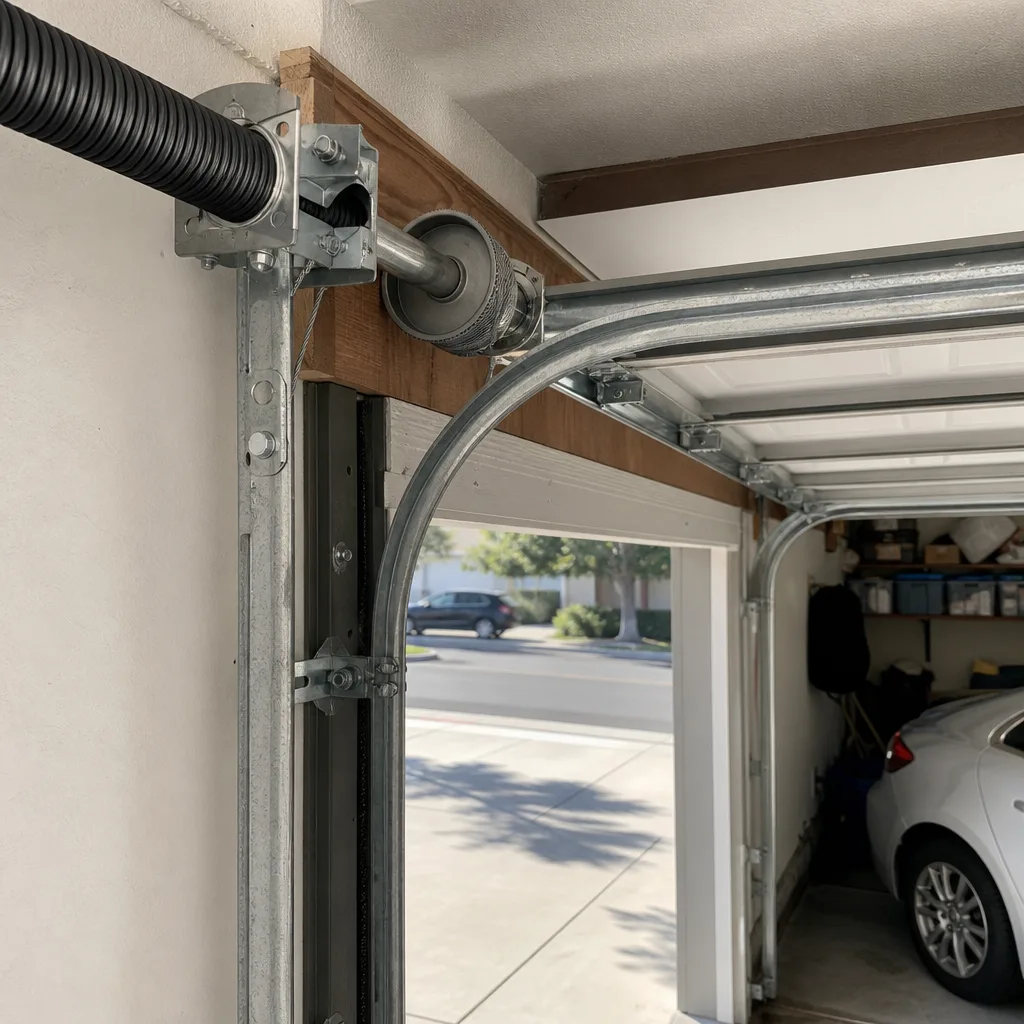 After
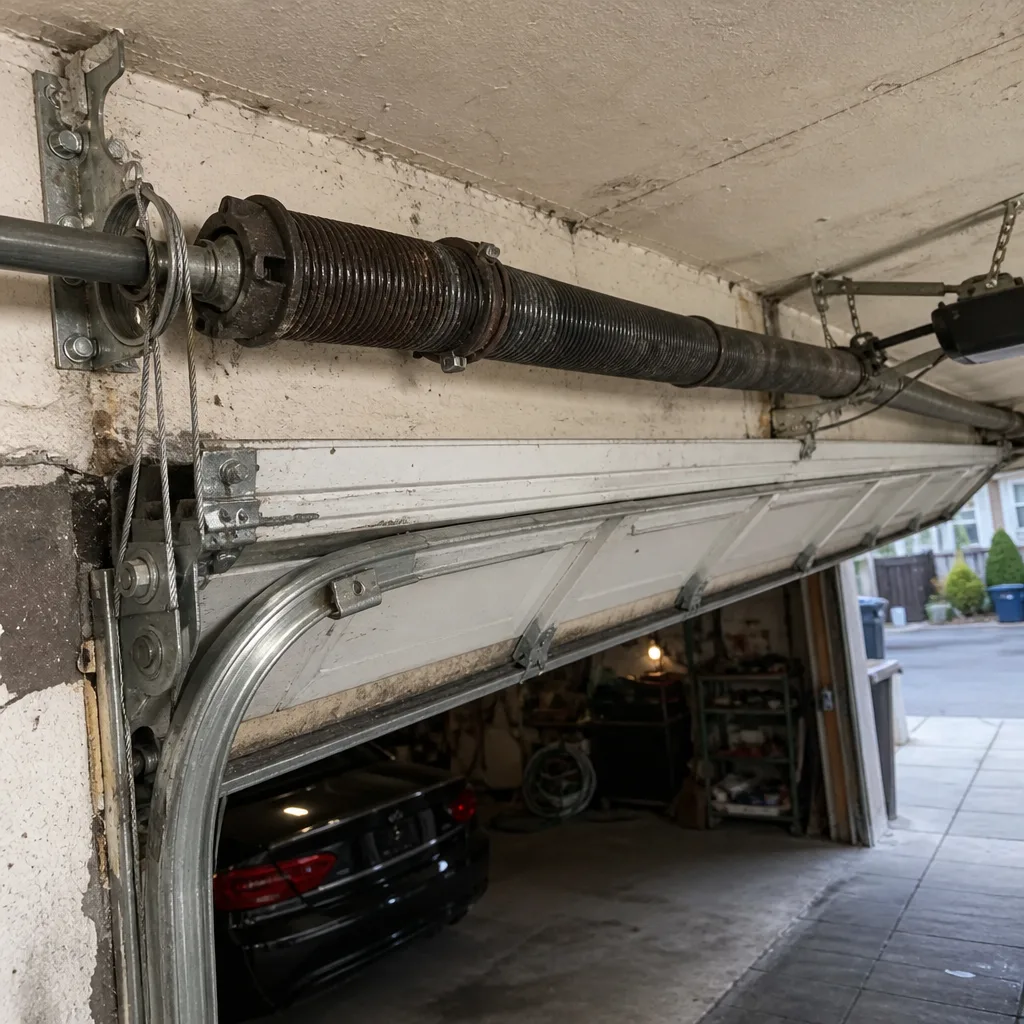 Before
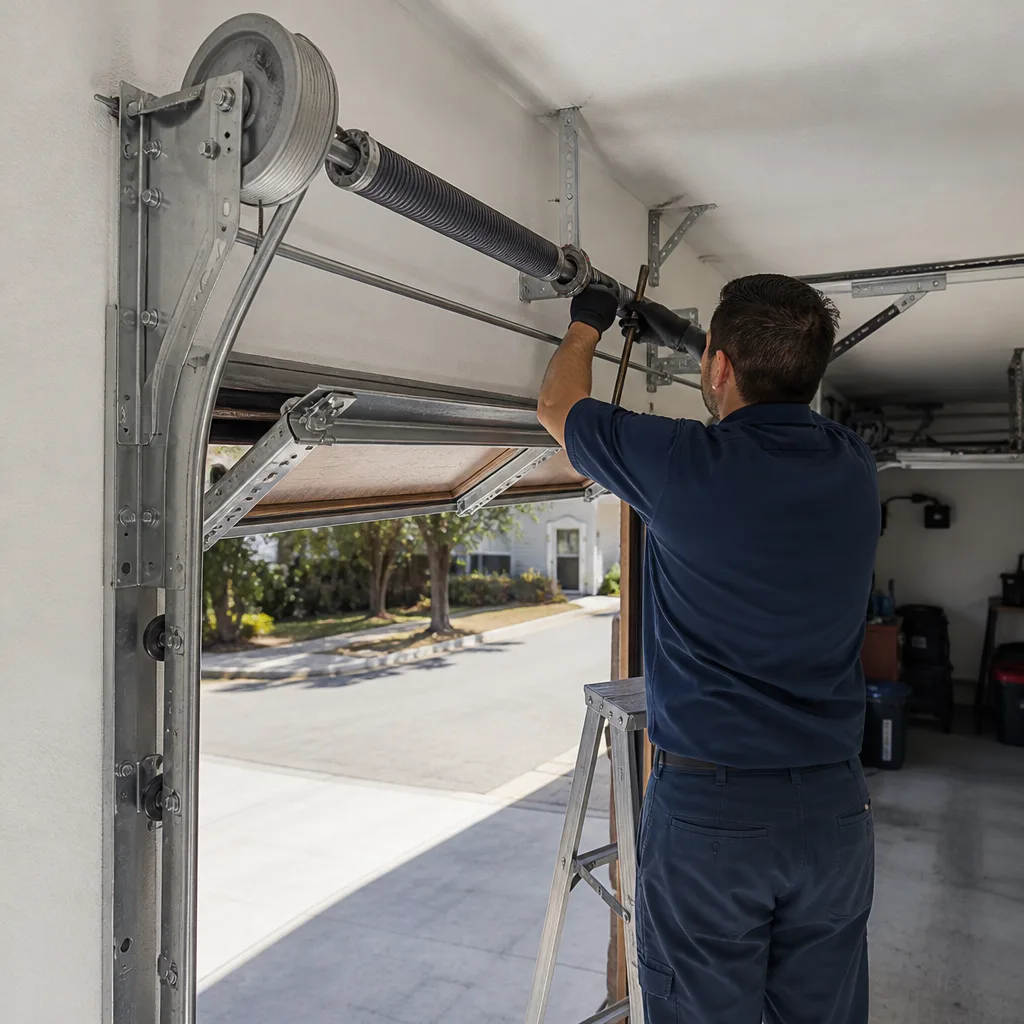 After
When to Call a Professional
Call a professional the moment you see a visible gap in a spring, a dangling cable, a door that hangs crooked, or a door that won’t hold position when you pull the emergency release. Also call if the opener flashes a logic-board or motor-related code, or if you’ve done the safe troubleshooting steps and the door still doesn’t behave. For help choosing who to call, see How to Hire a Garage Door Contractor in Burbank: A Step-by-Step Guide. Anything under tension is not a DIY project, and it’s not worth the risk.
Anchor Garage Door Repair offers free estimates in Burbank. We work on the full range of residential systems, from brand-new LiftMaster openers to 30-year-old Raynor and Wayne Dalton doors that just need a few more years of life. Call (833) 589-9142 and we’ll diagnose it honestly. If it doesn’t need fixing, we’ll tell you that too.
Frequently Asked Questions
Basic repairs in Burbank typically range from $125 to $350 depending on the issue, with spring replacement running higher. The price is quoted and agreed before any work starts, so there are no surprises. Call (833) 589-9142 for an exact quote, and estimates are free.
That’s almost always a photo-eye sensor problem. The sensors are misaligned, blocked, or dirty, and the opener refuses to close because it thinks something is in the way. Align the sensors so both lights are solid, then try again.
For most repairs, yes. We stock common parts for the brands we service, and most jobs are completed in a single visit. Same-day availability depends on the schedule, but we make every effort to get to Burbank customers quickly when a door is stuck or a spring has failed.
We service LiftMaster, Chamberlain, Genie, Clopay, Amarr, Wayne Dalton, Craftsman, and Raynor. That covers the majority of openers and doors in Burbank homes. If your brand is different, we’ll let you know honestly before scheduling.
No. The price is quoted before work begins and doesn’t change unless you approve additional work in writing. No surprises.
We carry the common parts: springs in multiple sizes, rollers, cables, sensors, remotes, and opener gears. That means most repairs are done in one trip instead of two. For Garage Door Installation in Burbank, doors are ordered to spec and installed on a scheduled date.
The Bottom Line
Garage door troubleshooting comes down to observation before action. Watch what the door does, separate the opener from the door with the emergency release, and address the five root causes in order of likelihood. Most problems are cheap and simple: a sensor, a battery, a limit setting. For more guides & resources, visit our blog. The few that aren’t, springs and cables, are dangerous enough that professional help is the only smart move. Anchor Garage Door Repair services Burbank with a simple promise: we diagnose the actual problem, fix what needs fixing, and charge what we quoted. When the door finally does go, you’ll know who to call.
Written by the team at Anchor Garage Door Repair, serving Burbank since 2011.